No products in the basket.
Blog
The Ultimate Guide to Chicken Wire: Straight from EasyMerchant
11
Aug
Aug
Introduction and Understanding Chicken Wire
The Ultimate Guide to Chicken Wire
Hello, garden enthusiasts and DIY’ers! Today, we’re diving deep into the versatile world of chicken wire. Whether you’re a seasoned landscaper or just starting out, this guide is packed with everything you need to know about chicken wire, chicken wire mesh, and chicken wire fence. We’ll talk about what it is, what it does, how much it should cost and more.
What is Chicken Wire?
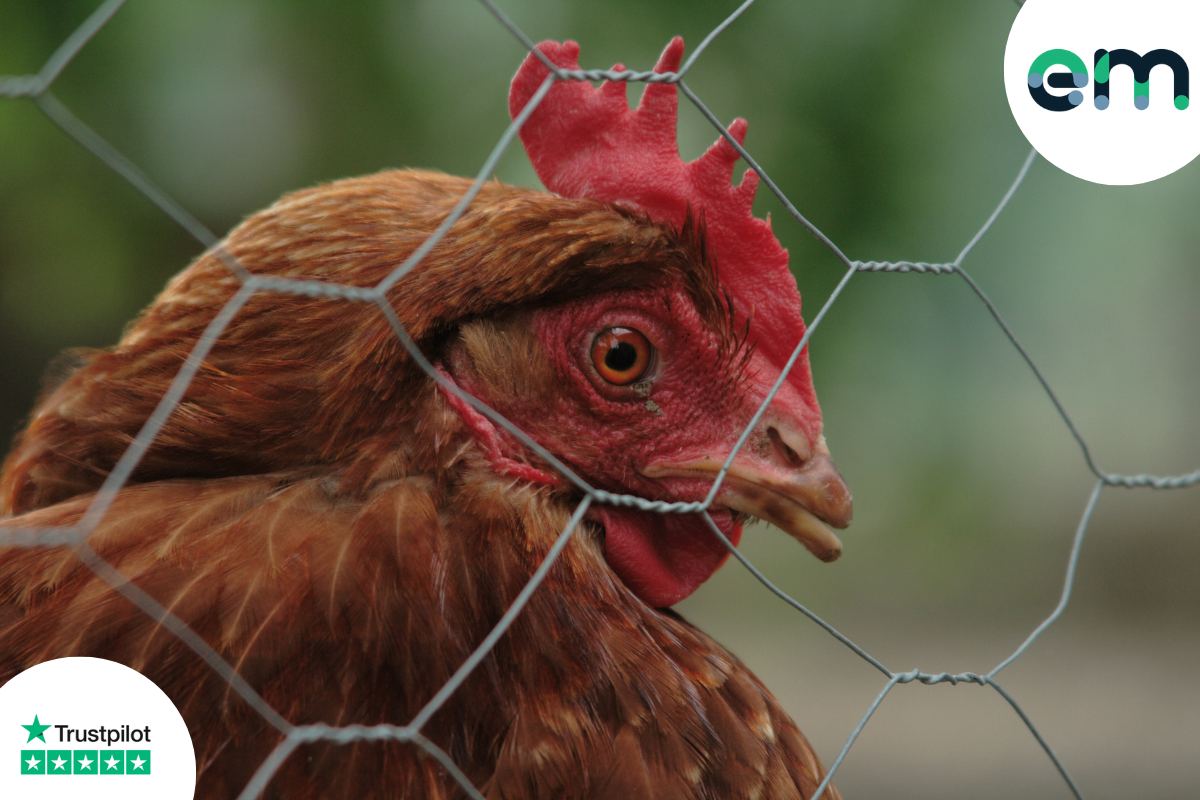
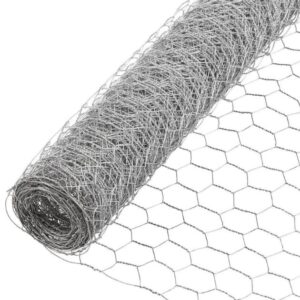
Chicken wire, commonly known as “chicken wire mesh”, is a woven mesh predominantly crafted from galvanised steel wire. Its signature hexagonal weave pattern isn’t just a design choice; it’ adds to the balance of flexibility and strength inherent in this shape. This design ensures that the mesh is resistant to pressure from all angles, making it both durable and versatile.
Historically, chicken wire emerged as a practical solution for poultry farming, providing an economical means to keep chickens contained. However, its utility quickly transcended its initial purpose. Gardeners began to see its potential as a lightweight protective barrier for plants, while artists and craft enthusiasts appreciated its malleability for creative projects. In construction, it found a place as a reinforcement layer, lending stability to structures like plaster walls.
Modern iterations of chicken wire have evolved to include various coatings and materials, such as PVC for added durability or even stainless steel and copper for specific applications. From its humble beginnings in poultry containment, chicken wire has woven its way into a multitude of different practical uses, proving its enduring value and adaptability.
The Rise of the Chicken Wire Fence
The chicken wire fence, a more robust variant of the classic chicken wire mesh, is designed for more demanding applications. While it can certainly keep your chickens in check, it’s also fantastic for creating garden partitions, protecting vegetable patches from pests, and even crafting garden decorations. Its durability ensures it stands the test of time and the elements.
Procurement and Practical Tips:
Where to Buy Chicken Wire?
If you’re in the market for top-quality chicken wire, look no further than EasyMerchant’s chicken wire mesh product page. We stock a range of different sizes of chicken wire and chicken wire fence options to cater to every need. Plus, our user-friendly website ensures a hassle-free shopping experience, while offering you the best possible prices.
How to Cut Chicken Wire:
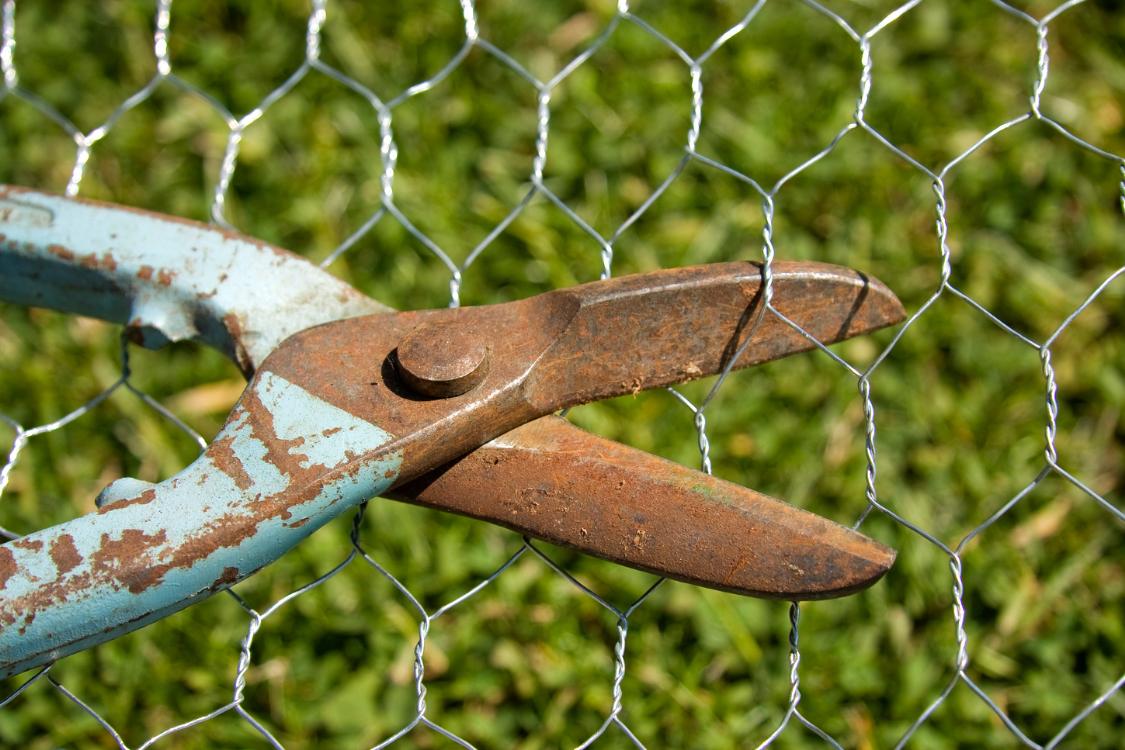
Cutting chicken wire might seem straightforward, but doing it correctly ensures safety and precision. Here’s an in-depth guide to help you master the art of cutting chicken wire:
- Preparation:
- Materials: Before you begin, gather all the necessary materials. This includes the chicken wire roll, safety gloves, wire cutters or tin snips, a tape measure, a marker or chalk, and safety goggles.
- Safety First: Always wear gloves when handling chicken wire to prevent cuts. The edges of the wire can be sharp, and gloves will provide a protective barrier. Safety goggles are also essential to shield your eyes from any small wire fragments that might fly up during the cutting process.
- Measurement:
- Determine Dimensions: Decide on the length and width of the chicken wire piece you need. This will largely depend on your project requirements.
- Mark the Wire: Roll out the chicken wire on a flat, stable surface. Using a tape measure and marker or chalk, mark the dimensions on the chicken wire. Ensure your markings are clear and visible.
- Cutting Process:
- Starting Point: Begin at one end of your marked section. It’s usually easier to start at an edge rather than the middle.
- Using Wire Cutters: Grip the wire cutter’s handles firmly. Place the cutter blades around the wire where you want to make the cut, ensuring you’re cutting as close to a junction in the hexagonal design as possible. This minimises sharp edges.
- Continuous Cutting: Continue cutting along your marked lines, ensuring the chicken wire mesh remains flat and taut. This will make the cutting process smoother and more accurate.
- Tin Snips: If you’re using tin snips, the process is similar. Tin snips can cover a larger area and might be more efficient for longer cuts.
- Post-Cutting:
- Check Edges: After cutting, run your gloved hand along the edges to check for any sharp protruding wires.
- Fold Sharp Ends: If you find any sharp ends, use pliers to fold them back or twist them onto the main body of the wire. This ensures safety during subsequent handling.
- Flatten the Wire: Chicken wire tends to curl up after being cut, especially if it was rolled. Lay it flat and use your hands or a heavy object to flatten it out, making it easier to work with for your project.
- Storage:
- Roll Excess Wire: If you have leftover chicken wire, roll it up neatly for storage. Ensure the cut edges are on the inside of the roll to prevent accidental injury when handling next time.
- Label: If you have various types or sizes of chicken wire, it’s a good practice to label them. This way, you can easily identify them for future projects.
- Additional Tips:
- Work in a Well-Lit Area: Good lighting ensures accuracy and safety.
- Take Breaks: If you’re cutting a large amount of chicken wire, take breaks to prevent hand fatigue.
- Safety Over Speed: Always prioritise safety over speed. Ensure each cut is deliberate and controlled.
Attachment Techniques and Costing:
How to Attach Chicken Wire to a Brick Wall:
Attaching chicken wire to a brick wall might seem daunting at first, but with the right tools and techniques, it’s a straightforward process. Here’s a step-by-step guide to ensure a secure and neat attachment:
- Preparation:
- Materials: Before you begin, gather all the necessary materials. This includes the chicken wire mesh, U-shaped staples or masonry nails, a hammer, wire cutters, gloves, a tape measure, and a marker.
- Safety: Always wear protective gloves when handling chicken wire to prevent cuts or scrapes. Safety goggles are also recommended to protect your eyes from any flying debris when hammering.
- Measurement and Cutting:
- Measure the Area: Using a tape measure, determine the height and width of the area on the brick wall where you want to attach the chicken wire.
- Mark and Cut the Wire: Roll out the chicken wire mesh on a flat surface. Based on your measurements, mark the required dimensions on the mesh. Using wire cutters, cut the chicken wire, ensuring you leave a little extra on each side for adjustments.
- Positioning the Chicken Wire:
- Align the Wire: Hold the chicken wire against the brick wall, ensuring it’s taut and aligned correctly. It’s helpful to have another person assist you in holding the wire in place.
- Temporary Fixing: To keep the wire in position, you can temporarily fix it at the top corners using U-shaped staples or masonry nails.
- Securing the Chicken Wire:
- U-Shaped Staples: These are ideal for attaching chicken wire to brick walls. Starting from one corner, hammer the U-shaped staples into the mortar joints (the horizontal gaps between bricks) at regular intervals, ensuring the wire is pulled taut as you go. The mortar joints are softer than the bricks, making it easier to secure the staples.
- Masonry Nails: If you don’t have U-shaped staples, masonry nails can also do the trick. However, they require a bit more effort. Position the chicken wire against the wall and hammer the nails through the wire and into the mortar joints.
- Adjustments and Finishing:
- Trim Excess Wire: Once the chicken wire is securely attached, use wire cutters to trim any excess wire from the sides.
- Fold Sharp Edges: If there are any sharp edges or protruding wires, fold them back using pliers to ensure safety and a neat appearance.
- Additional Tips:
- For Added Stability: If the area is particularly large or you’re concerned about the weight of items that might be placed against the chicken wire (like climbing plants), consider adding horizontal wooden battens to the wall. Attach the chicken wire to these battens for added stability.
- Regular Checks: Periodically check the chicken wire’s attachment points, especially after extreme weather conditions, to ensure it remains securely in place.
How to Attach Chicken Wire to a Hedge:
Securing chicken wire to a hedge can be a fantastic way to provide added structure, protect the hedge from pests, or even support climbing plants. Here’s a detailed step-by-step guide to ensure a secure and effective attachment:
- Preparation:
- Materials: Gather all the necessary materials. This includes the chicken wire mesh, garden stakes. round fence posts, fencing pins, garden ties or twine, wire cutters, gloves, a tape measure, and a rubber mallet or hammer.
- Safety: Always wear gloves when handling chicken wire to avoid potential cuts. If you’re using a rubber mallet or hammer, safety goggles can protect your eyes from any flying debris.
- Measurement and Cutting:
- Measure the Hedge: Using a tape measure, determine the height and length of the hedge section you wish to cover.
- Mark and Cut the Wire: Roll out the chicken wire mesh on a flat surface. Based on your measurements, mark the required dimensions on the mesh. Using wire cutters, cut the chicken wire, ensuring you leave a bit extra on each side for adjustments and overlaps.
- Positioning the Chicken Wire:
- Align with Hedge: Hold the chicken wire against the hedge, ensuring it aligns correctly from top to bottom. If you have someone to assist, it can make this step easier.
- Consider the Growth: Remember, hedges grow. Ensure the wire isn’t too tight against the hedge, allowing some room for growth.
- Securing the Chicken Wire:
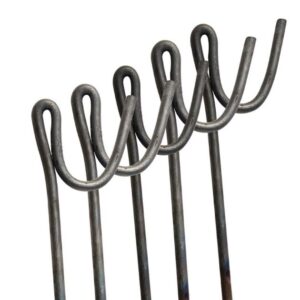
- Garden Stakes or Poles: These will be used to support the chicken wire. Push the stakes into the ground at regular intervals along the length of the hedge. The exact distance between stakes can vary, but every 1 to 2 metres is a good rule of thumb.
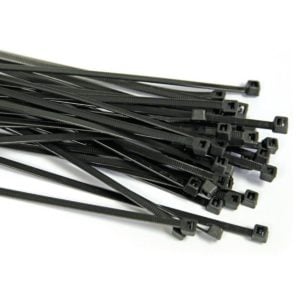
- Attach the Wire: Starting at one end, secure the chicken wire to the first stake using garden ties, cable ties or twine. Make sure it’s taut but not overly tight. Continue attaching the chicken wire to each stake, ensuring it remains taut throughout.
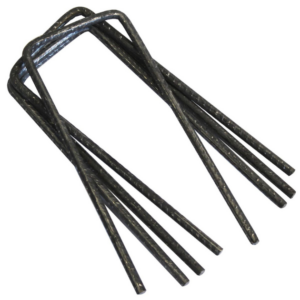
- Ground Anchoring: For added stability, especially in windy areas, you can use Steel U Pins or pegs at the base of the chicken wire, pushing them into the soil to hold the wire in place.
- Adjustments and Finishing:
- Trim Excess Wire: Once the chicken wire is securely attached, use wire cutters to trim any excess wire from the top or sides.
- Secure Loose Ends: If there are any sharp edges or protruding wires, fold them back using pliers or secure them with garden ties to ensure safety and a neat appearance.
- Additional Tips:
- For Climbing Plants: If you’re using the chicken wire to support climbing plants on the hedge, ensure the mesh’s holes are large enough for the plants to weave through but not so large that they can’t get adequate support.
- Maintenance: Periodically check the chicken wire’s attachment points, especially after extreme weather conditions, to ensure it remains securely in place. Over time, as the hedge grows, you might need to adjust or expand the chicken wire.
How Much is Chicken Wire?
Chicken wire is cost-effective, but prices can vary based on size, material, and where you purchase it. For a transparent pricing structure and top-quality chicken wire mesh, chicken wire mesh product page is the place to go. We offer options for every budget, ensuring you get value for money.
As a guide, it costs around £2 per square metre, but it depends on the gauge and size you require.
Advanced Uses and Conclusion:
Beyond the Basics: Creative Uses for Chicken Wire
The versatility of chicken wire means its uses are limited only by imagination. From crafting garden sculptures to creating decorative partitions, chicken wire is a boon for creative minds. It’s also great for making compost bins, protecting seedlings, or even crafting DIY garden lanterns.

Conclusion
Chicken wire, with its myriad uses, is a must-have for anyone serious about gardening or DIY projects. Its versatility, durability, and cost-effectiveness make it a favourite.
If you would prefer a plastic coated wire fencing product we also offer these with three options on aperture size – Border Fencing – PVC-Coated Wire in 75mm x 100mm, PVC Coated Welded Wire Mesh in 25mm square and 50mm square. We also have a handy blog on How to Use Plastic Coated Wire Fencing in Your Garden!
As you embark on your gardening adventures, remember that we’re here to support you every step of the way. Happy gardening, and always remember, for any queries or needs, we’re just a click away!
Shop Chicken Wire Fencing Products:
Out of stock