No products in the basket.
Blog
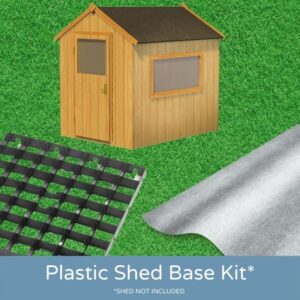
How to Lay Plastic Gravel Grids: A Step-by-Step Guide.
21
Dec
Dec
What are Gravel Grids?
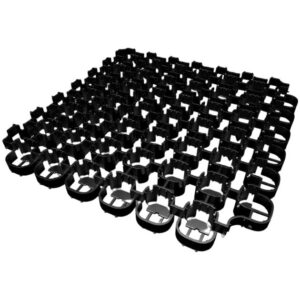
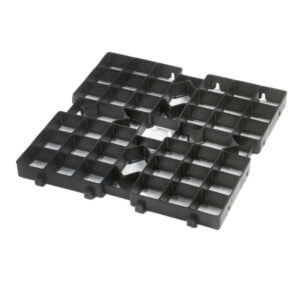
Gravel grids are a square plastic grid or mat that is usually used to reinforce gravel surfaces and stop the surface from being moving away over time. They’re often made from recycled plastic, which helps to make the more economically friendly and also bring the cost of the products down. They’re designed for use on gravel driveways, car parks and paths to help keep the gravel in place and provide a more stable surface to prevent shifting or sinking.
Gravel grids are made in a few different sizes, the most common being 450mm x 450mm, 480mm x 480mm or 500mm x 500mm. Then they come in different thicknesses from 20mm to 50mm, the thicker they are usually means they’re stronger and can take more weight, but always check the load ratings are suitable for the load required before purchasing them, as the weaker ones may not be suitable for heavy vehicles.
As gravel grids are usually made from recycled plastic they’re an environmentally friendly product to use especially as they can often be reused as they’re easily able to be removed and reinstalled in a new location if required, giving them a very long lifespan.
Overall gravel grids are a cheap, easy to install and environmentally friendly option for reinforcing and stabilising gravel driveways, car parks or paths.
How to lay gravel grids for a DIY gravel grid driveway:
Laying gravel grids is a fairly simple process that most people can accomplish with only basic DIY skills. It doesn’t require any special tooling or skills to install. Here’s a basic step by step guide on how to install gravel grids:
- Firstly, prepare the area: Before you lay the gravel grids you should start by preparing the area (the driveway or path) by removing the surface soil including any debris, weeds and roots and then levelling the ground using a rake and wacker plate / compactor if required.
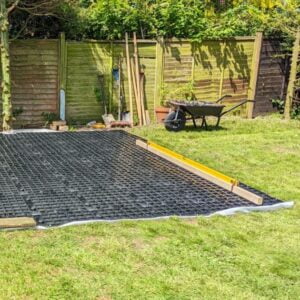
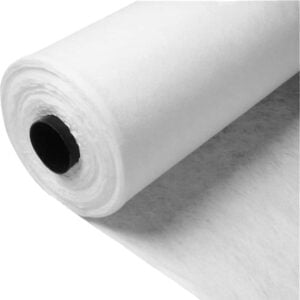
- Lay the geotextile membrane. A non woven geotextile membrane should be installed below the gravel grids to help stop the gravel from sinking into the dirt beneath. A non woven membrane should be used as woven membranes do not allow for water drainage.
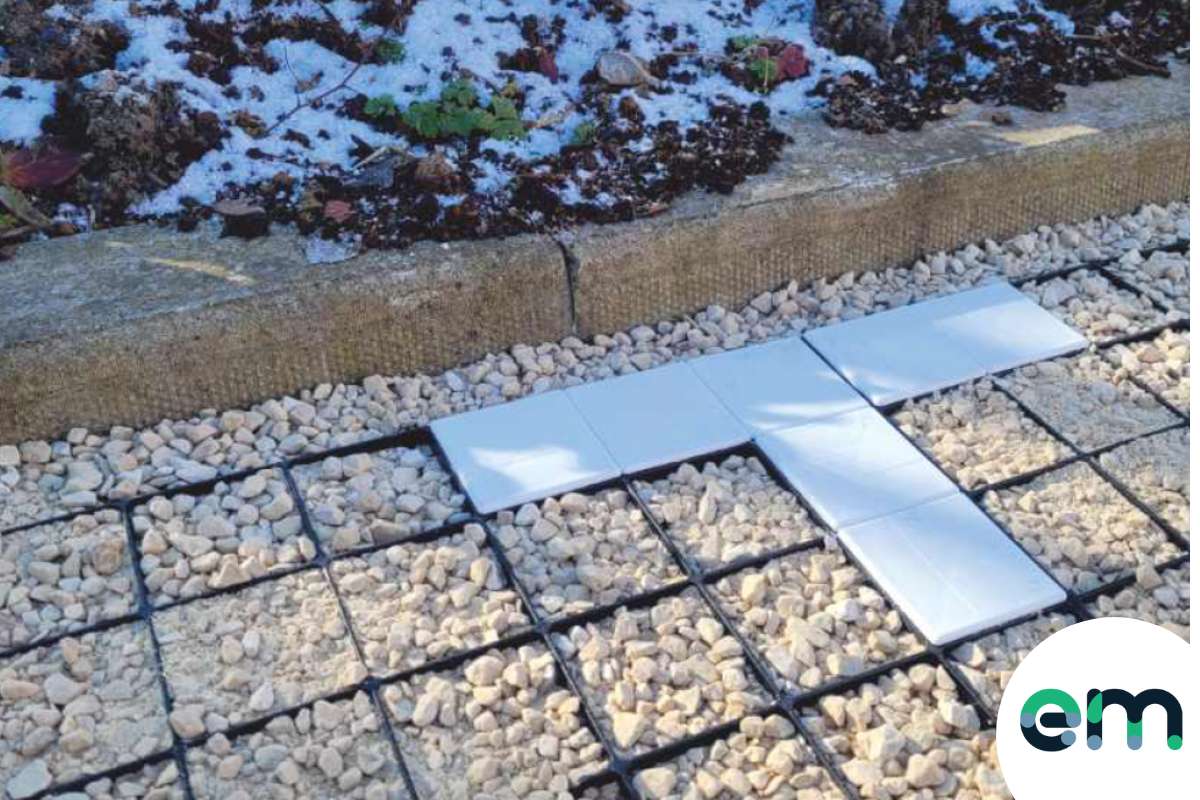
- Next lay the gravel grids. Once the area has been levelled, compacted and the membrane installed you can begin laying the gravel grids. You should start at one corner of the area and then work out from there, interlocking the grids as you go. The grids should be gently tapped into place using a rubber mallet or similar.
- Then, once the grids are all in their place, begin filling the area with gravel, using a rake to distribute the gravel evenly over the grids making sure to fill all of the gaps and spaces.
- After all the gravel has been evenly spread cross the grids you’ll want to compact it down to ensure a stable and even surface. You can use a wacker plate or similar to gently compact the gravel.
- Finish: Once the gravel is compacted, you’re done! You can then use a broom or rake to smooth out the surface and remove any excess gravel.
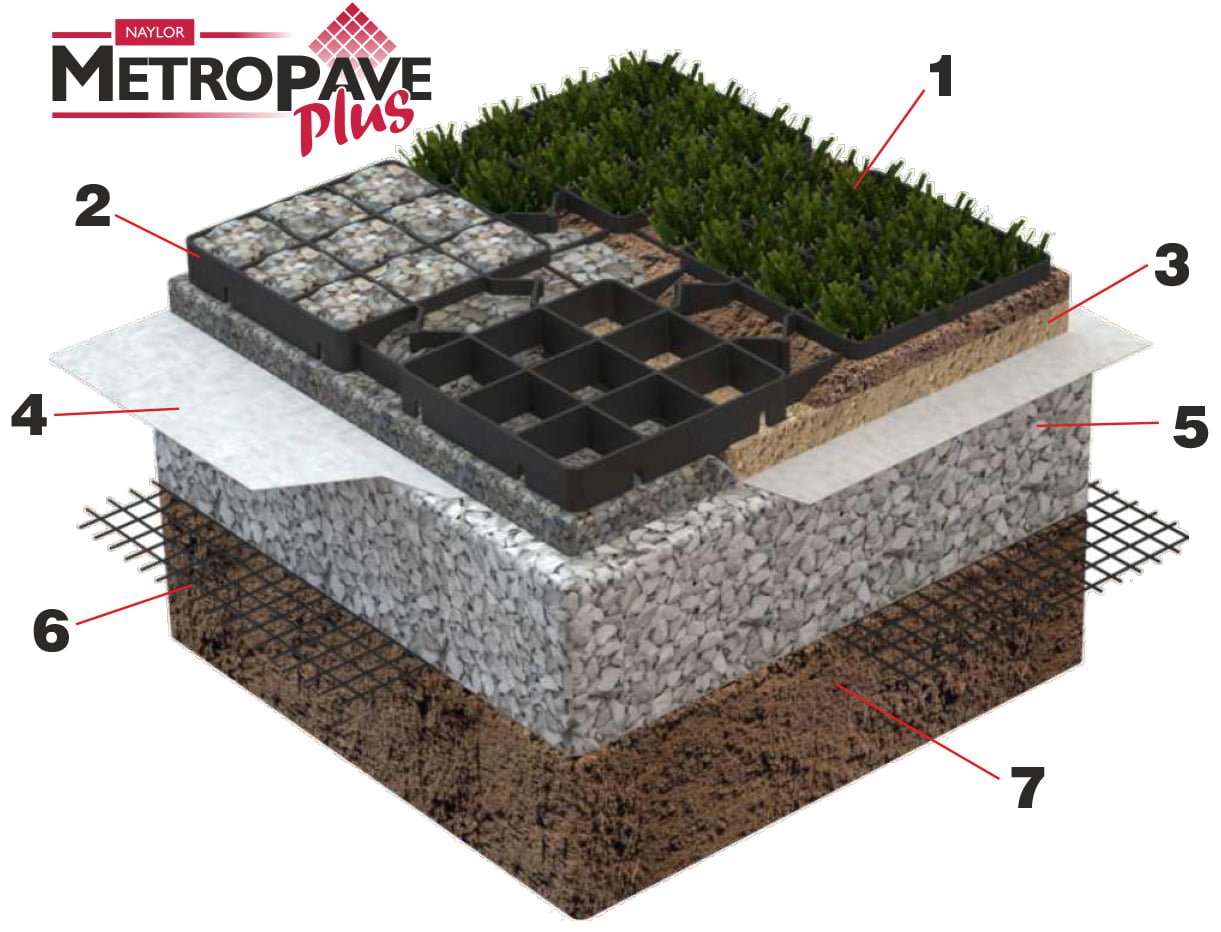
For large installations such as for a large car park a geogrid should be used as the bottom layer (fig 7) with a sub base (fig 5) laid and compacted on top before following the steps above.
How to cut Gravel Grids?
To cut gravel grids, you will need a circular saw or a fine toothed saw. Cutting gravel grids is a pretty simple process that can be done easily with some basic tools and a little bit of care. By following these steps, you can easily cut the grids to size so that the grids fit to your specific area.
Here are the steps to follow:
- Measure and mark the line on the gravel grid to be cut using a pencil or marker pen,
- Secure the grid into place: To make cutting the grid easier, reduce mistakes and increase safety you should secure the grid into place using a clamp, vice or another heavy object to hold the grid still while it’s being cut.
- Cut the grid: Using your saw, carefully cut along the line you earlier marked. If you’re using a fine toothed saw, you may need to take extra care to stay on the line while you’re sawing. If you’re using a circular saw, make sure to wear protective eyewear, gloves and use a steady hand to avoid accidents.
- Sand it down: Once you’re finished sawing, use some sandpaper or a file to smooth down any rough edges. This will help prevent the grid from snagging during installation and protect from sharp edges.
Where to buy cheap Gravel Grids?
- One option would be to purchase second hand, used gravel grids on a marketplace like eBay or Facebook. The grids obviously won’t be in perfect condition but it can be a cheap and easy way to purchase them if you’re looking to reduce costs.
- If it’s a really large area, then some suppliers may offer a bulk deal for a full pallet load.
- Compare prices from different suppliers. Always remember that there is always a sacrifice on quality when looking for the cheapest products so bear that in mind when purchasing.
- Consider other options. If gravel grids are out of your budget sometimes a geogrid or similar can be used instead.
At EasyMerchant we stock and sell the MetroPave Ground Reinforcement Grids, which are made in the UK and are some of the best on the market. We offer two options, the MetroPave Standard and the Metropave Plus, with the plus version being suitable in heavy trafficked areas.
Shop Gravel Grids:
Sale!
Sale!
Install easily with 1 or 2 people in hours. Each unit will ship with detailed instructions on how to quickly create your base best ground grid on the market.
Geocell panels offering industrial ground stabilisation and erosion control to any commercial foundation.