No products in the basket.
Blog
Are you thinking of installing a soakaway drain? Top tips and advice.
18
Aug
Aug
What is a soakaway drain?
A soakaway drain is mainly used to eliminate standing surface water (rain water). A typical set up would consist of a large hole or pit where water or surface water from a drainage pipe or channel drain would flow into. The water would then slowly drain away through the soil which eliminates or reduces the risk of flooding and standing water, which improves the stability of the ground and eliminates standing water.
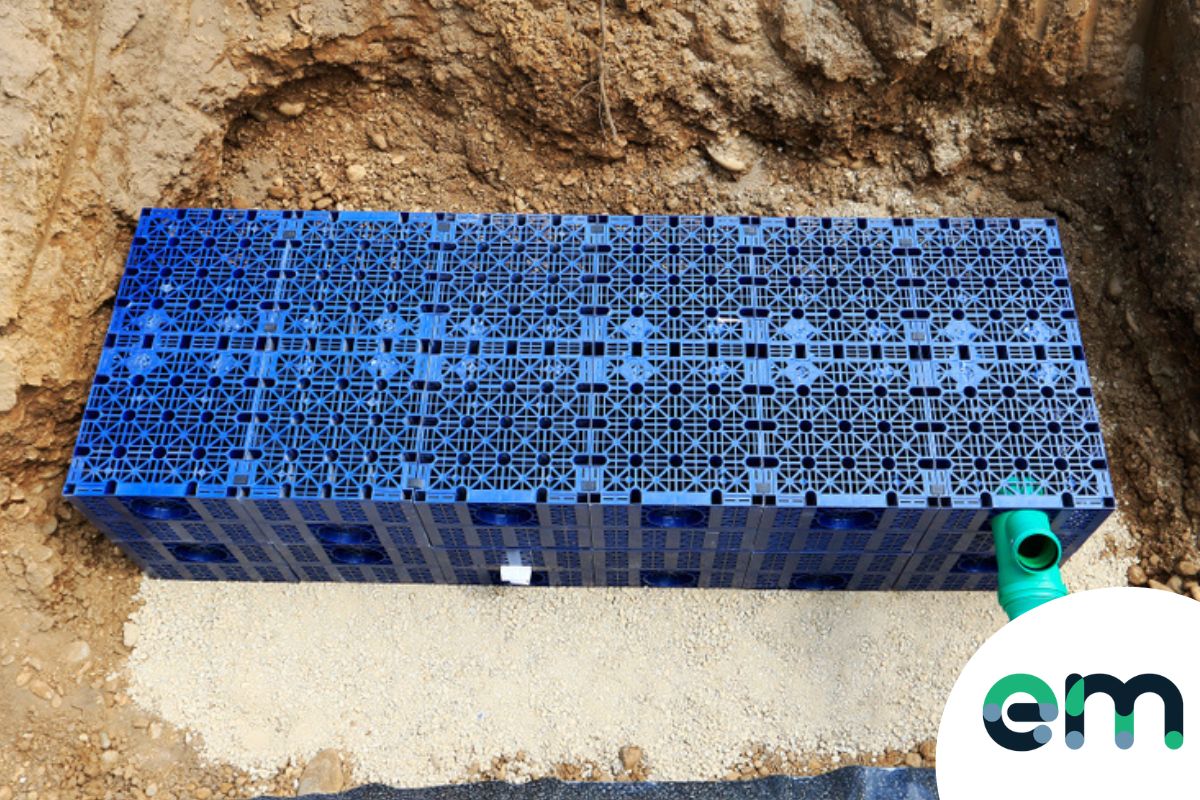
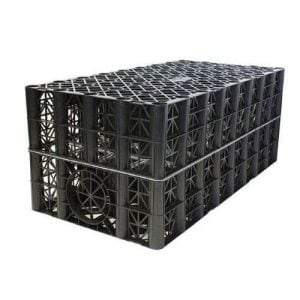
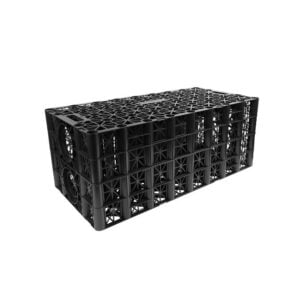
Soakaway crates are the best and most popular solution for a soakaway drain these days. In the past the traditional method would have been to simply fill the hole with rubble and waste. Obviously this isn’t the most efficient way of doing things, because the water can only store in the small gaps between the rocks and stones and these small gaps soon get filled with silt and debris over a short space of time. Soakaway crates are designed to be strong, but have a large void. Usually around 95% void ratio. This means 95% of the space in the soakaway will be filled with water that you need to store, making them much much more efficient and longer lasting. To see the different soakaway crate options, just click here
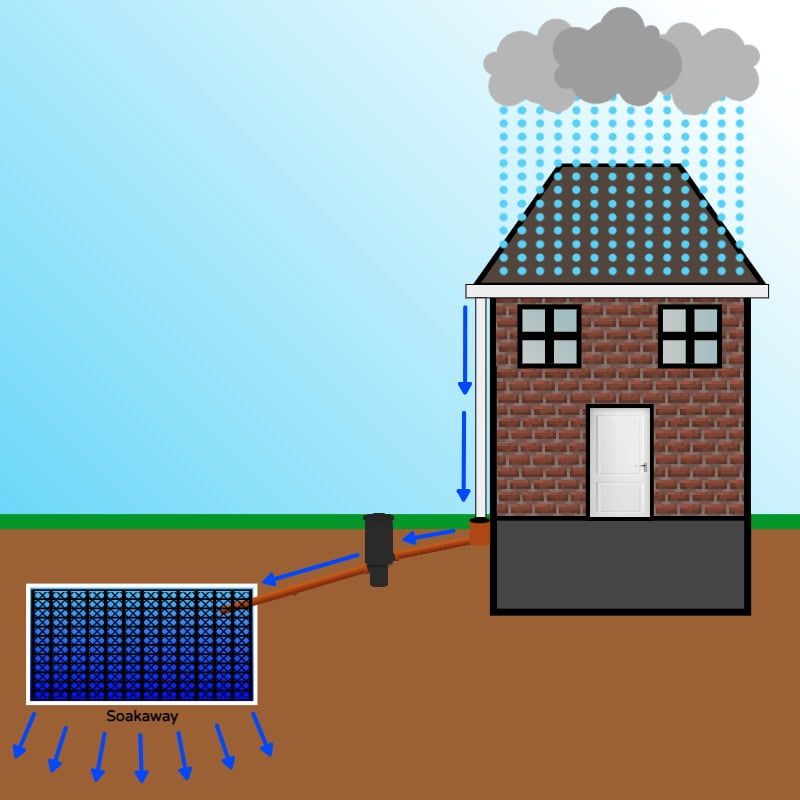
Here’s an image we’ve made displaying a typical soakaway drain set up using crates. As you can see the water comes off of the roof, into the gutters, down the downpipe an into the underground drainage system via a gully, it then passes through a silt trap which catches debris and then the clean debris free water enters the crate system before slowing soaking away into the surrounding ground.
Considering a soakaway drain? You need to do this first:
A percolation test.
Before you plan your soakaway system you should perform a percolation test. Certain ground conditions may not be suitable for a soakaway, such as heavy clay or areas with a high water table. You can either hire a professional to perform this test, or you can do it yourself following our percolation test guide here. Adding a soakaway drain system to unsuitable ground could end up being a complete waste of time and money if the soil is too heavy or not porous enough to allow the water to drain away. So this is an essential test.
A roof pitch calculation.
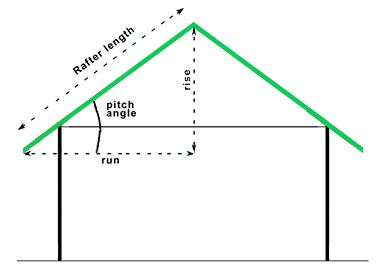
To figure out what size of a soakaway drain you’ll need. You’ll need to do a calculation based on the roof pitch and roof area. We have more information on how to do this below the products on our soakaway crates page. This will help you to calculate the amount of water you’ll need to deal with.
Check for buried pipes, cables or other dangers.
Without stating the obvious, please be careful not to dig up any underground services such as pipework, cables or anything else. Not only could cutting through one of these be very dangerous, but it could also cost an awful lot of money to repair.
Planning permission and regulations.
Soakaway drain systems should be installed at least a minimum of 5 metres from any property, road or boundary wall. Perhaps even more if the ground is heavily sloping away from the property. Also, if the soakaway is to be installed as part of a new build development or extension then it must be marked on the building plans.
Preparing for installation.
Firstly, mark the area to be dug out using marking spray or similar. You can also mark where the trench will be dug for the inlet pipe. Once marked, carefully excavate the area , making sure to leave enough room for the 150mm of base, side and backfill of 10mm pea shingle. Remember that if it is to be installed in heavy traffic areas, or areas with higher loading requirements that you’ll need to install the soakaway drain at a deeper depth to allow for more top cover. As you’re excavating make sure to remove any rocks, rubble, tree roots or other debris before you add your pea shingle to the base. This will ensure the soakaway sits level and also avoids any damage to the crates.
Installation Considerations
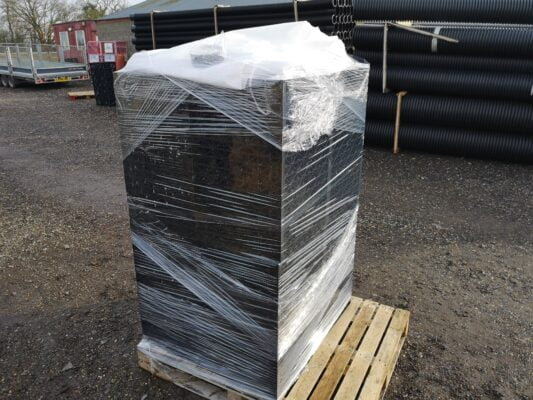
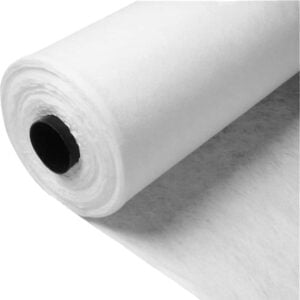
Make sure the crates are thoroughly wrapped in a non woven geotextile membrane.
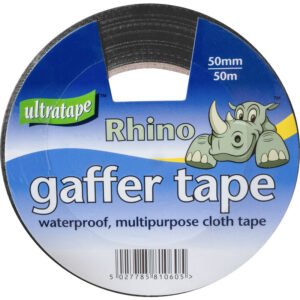
You need to make sure that the crates are well wrapped in a non woven geotextile membrane, like our Lotrak 100 product. This stops silt and debris from entering the system and clogging the whole thing up. Once the hole has been excavated, add your pea shingle base, and then lay your geotextile in the hole. Lay the crates over the top in the hole and then wrap the geotextile all the way around the crates and also around the inlet pipe. Make sure that the geotextile is securely taped up so that it does not unwrap. Correctly wrapping the crates will ensure that they remain efficient and function for the entire life span of the product.
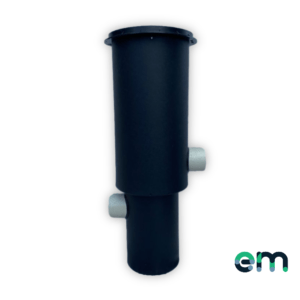
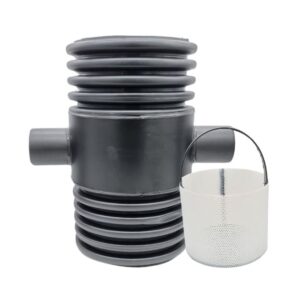
Fit a silt trap.
As discussed before, the main concern when fitting a soakaway drain is the system being filled with debris, silt and dirt. One way to further eliminate this is to add a silt trap along the pipe run before it enters the soakaway system. The silt trap will take the incoming water and allow the heavy debris to sink to the bottom of the trap. Then only clean water will pass out of the silt trap and into the system. The silt trap will have a lid on the top which can be removed periodically to allow the silt bucket inside to be manually emptied. This will stop the system from becoming clogged and seriously improve the lifespan of the system.
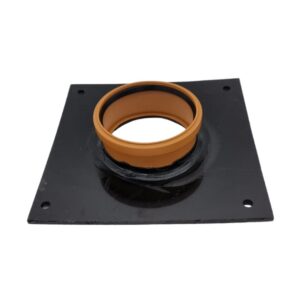
Usually the easiest way to install the inlet drainage pipe is to simply lay it over the top of the soakaway tank and make sure it is wrapped well in geotextile membrane. Some crates will have a pre-marked cut out which can be removed with a hole saw to allow the pipe to enter from the side. Sometimes it’s a perforated cut out which just needs to be pushed out. If you’re going to enter the pipe from the side, then make sure to mark this on the geotextile so that you can easily find it when you’re trying to locate the pipe. Ensure that other entry points face inways if you’re working with multiple crates. In some cases the inlet pipe can simply be pushed up against the side of the crate. In this case make sure the pipe is well wrapped in geotextile so that nothing can enter the system.
Side and back fill.
Once the system is in place, the inlet pipe is installed and the whole thing is wrapped up in the geotextile then add you side and back fill. Usually we would recommend 10mm or 20mm pea shingle for this. This will help to keep the crates in a secure and stable position, but it will also help to allow the water to soak out of the soakaway drain. Once the back, side and top is covered with 150mm of pea shingle, then you can add the top soil – usually a minimum of 400mm. If there is to be a lot of traffic passing over the system, then you may need to add more top soil and give the system more cover to increase it’s strength and load resistance.
Installation video:
Want to see us install some crates? Check out our video!
Which systems do you recommend?
It depends on where the system is to be installed! For a residential setting, then our geocell crates are the most common sellers because they usually work out to be the most economical. We sell them in kits perfect for garden drainage or for use with an extension etc.
If the crates are to be installed underneath a road or carpark then you might want to opt for a crate with a higher load resistance, such as the Brett Martin Stormcrate 55’s.
If you know the side of the soakaway required, or how many cubic metres of water you need to hold, then give us a call and we can help you work out which crates you want and how many you’ll need. We keep loads and loads of these in stock and our friendly knowledgeable team will be happy to help.
Author Bio
Nathan Wilde

Nathan has been in the drainage and plastics industry for over 12 years. Having worked for both builders’ merchants and major manufacturers Nathan has gained a significant amount of industry and product knowledge. Now at EasyMerchant Nathan has dedicated himself to making trade’s people’s lives easier.
Shop Soakaway Crates
Sale!

(28)
From £228.03 Excl. VAT
Out of stock
Good evening,
I have a problem with a gravel soakaway in a coastal region of Co.Waterford R.O.I.
Rainfall in this area is higher than the UK average. A comparison with Wales,Cornwall or Manchester would be equivalent. Does this system work in areas with high rainfall? Any help or guidance would be greatly appreciated.
Many thanks,
Will Daly.
How can we get this,please can you company partner with us?.we need this system of drain soakaway.