No products in the basket.
Blog
How to Build a Soak Away System
10
Jan
Jan
A soak away drainage system collects surface water from rainfall in the area and re-disperses it back into the ground at a rate that doesn’t flood the nearby soil – if your property has flooding or standing water problems, it can be a great solution. Back in the day, these basically just consisted of a hole dug in the ground and filled with waste and rubble, but we now have products available to us like soakaway crates that massively increase the efficiency and lifespan of the system.
Here, we’ll go over how to build and install your soakaway system in just a few straightforward steps, explaining the equipment you’ll need and a few tips along the way.
Select the Right Location
For your soakaway to be as efficient as possible, you’ll need to pick the right area for it. It should be at least 5 metres away from your property or a retaining wall, and further away than that if the chosen site slopes down toward your property (otherwise you risk damaging the foundations). The area should be clear of any underground services like gas and water mains pipes, drainage pipes, comms cables, or electrical cable ducts. If you’re unsure, contact your local authority planning officer for site plans and building regulations to avoid any disasters.
Additionally, you should carry out a soil percolation test to determine whether the soil on your property is appropriate for a soakaway drainage system. Some soils, such as heavy clay soils, will not work with this kind of drainage. We have a blog post on how to perform a percolation test here
Dig Out the Site
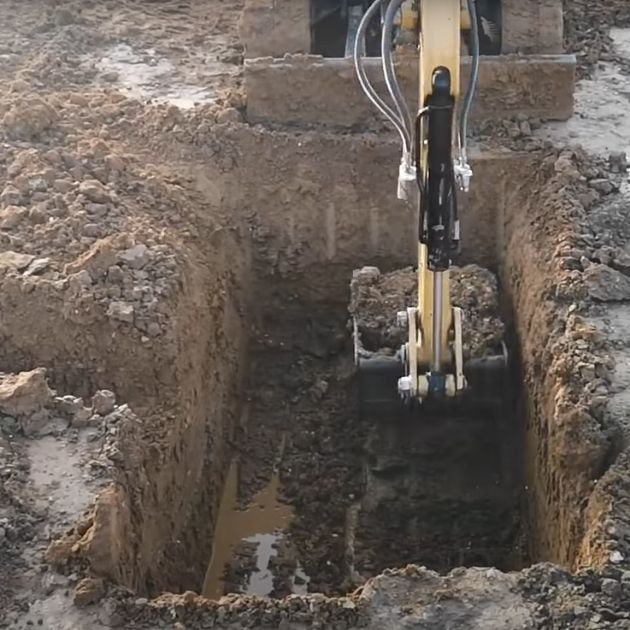
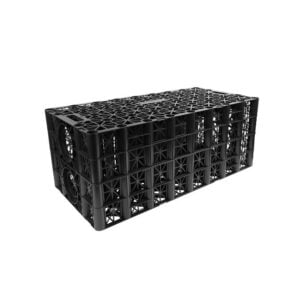
You’ll need to dig out a hole based on the size of your soakaway crates dependant on the amount and type of crates you have (they come in different shapes and sizes!), taking into account the base, back fill and side fill you’ll need to be adding as well. The layers of shingle you’ll need to place all around the crate are around 15cm (150mm or 6 inches), so add that to the dimensions of your crate when digging out the pit. So if you take one of our best sellers, the Geocell 1m3 Soakaway Crate Kit you would need to dig a hole 1530mm long, 970mm wide and 1600mm deep. This allows for the crates (in a 4×4 configuration), 150mm pea shingle (10/20mm) on the sides top and bottom and 400mm of cover over the top.
Although you can excavate the site by hand if you choose to but it’s much more efficient to use a mini digger. They’re simple to use and will save you lots of time and effort, plus they’re usually inexpensive to hire.
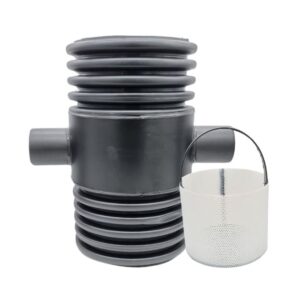
Add Pre Filter

While fitting a pre filter isn’t completely essential. it will improve the lifespan of your soakaway and help maintain it’s efficiency. For instance, a silt trap is installed before and slightly above your soakaway crate and after the drainage pipe, trapping dirt particles and other waste from the rainwater that flows into it before it enters the crate chamber.
All you have to do to maintain your silt trap is remove and clean out the removable bucket inside every two or three months. If you do this, you can prevent debris from entering your soakaway system and clogging or causing damage, which can even lead to you needing to fully replace the entire system later down the line.
Prepare the Base
After you’ve dug out a hole of the correct size, you should remove any stones, roots and rubble from the base and try to smooth out the bottom of the pit as much as you can. You can then add a layer of 20mm pea shingle, levelled out and compacted, about 150mm thick for the crates to rest on.
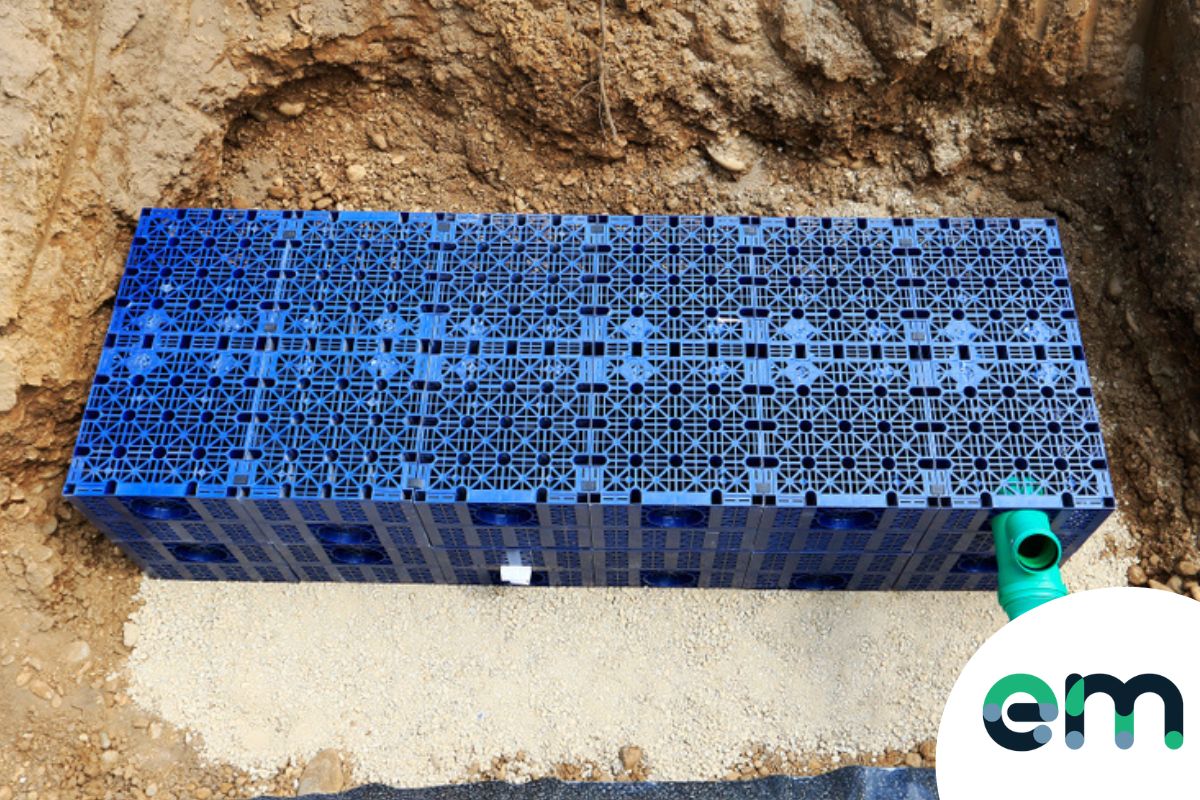
Install Your Crates
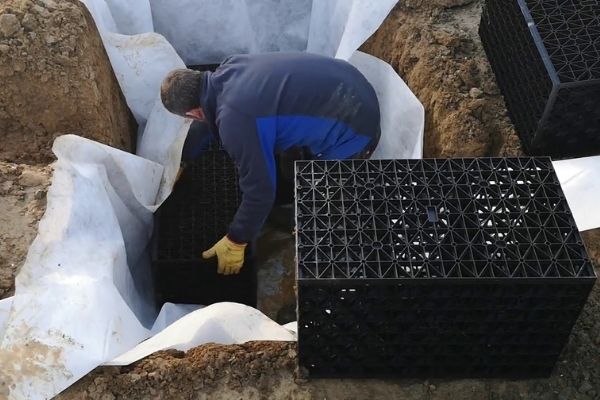
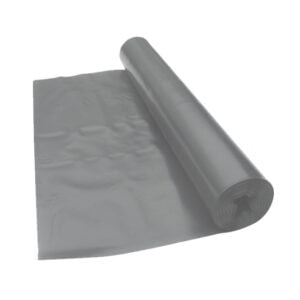
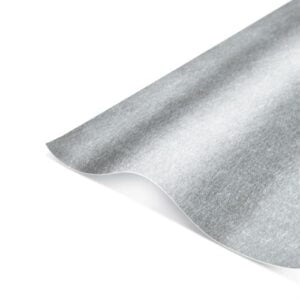
Before you place the crates into the hole, you should line the hole with geotextile membrane. Without the membrane being fully wrapped around the crates and the inlet pipe dirt and silt will get into the system and clog it up, reducing the amount of water storage space inside.
You can then lower the crates into the hole and tape the non woven geotextile membrane around the crates, again – making sure to cover the pipe entry point and every outward face. Some crates come with clips to attach the crates together, otherwise you can use cable ties to secure the the crates until the side fill has been implemented which will stabilise it further.
Connect the Pipes
Depending on the manufacturer of your crates, your entry points will vary – while some will have knock outs or cut outs, others won’t have an entry point at all, meaning the pipe is butted up to the wall of the crate, or ran across the top of the crates. When using only one pipe, you should turn the other crates so that the pipe entry areas face into the soakaway, preventing the membrane from sagging into them.
Hold the pipe against the entry point, draw around it and mark the centre. You can then cut across the membrane and fold it back, so that you can push the pipe in by about 150mm. Once the pipe is in, you can tape the excess membrane around it to ensure a tight fit.
Backfill the Soakaway
Your crates will be supported by the side fill you can now add around the existing structure, consisting of a 150mm layer of pea shingle. In addition to improving water flow out of the crates, the side fill will protect the integrity of the structure against any movement or ground disturbance.
Once the side fill is in place, you can start placing another 150mm layer of pea shingle on top of the crates, followed by a layer of soil with a minimum depth of 400mm (always check manufacturer’s guidelines as each crate will be different) for a garden soakaway system. If the soakaway is in a driveway, car park or road, you may want to increase this.
Soakaway Installation Advice
Installing soakaways is fairly straightforward, but it’s always good to make sure you know exactly what you’re doing and what you need for the job. Whether you need more information about building your whole soak away, or just want to know what kind of material you should use for the backfilling, we’re here to help. Just contact us through phone or email (whichever option suits you) and we’ll help you with all your drainage needs.
Shop Soak Away Products:
Out of stock
Out of stock

(28)
From £228.03 Excl. VAT
Hi does it matter where drainage pipe enters crates ie height wise. Basically could the pipe enter middle of stacked crates.
Hey Adrian.
Usually we would advise putting the pipe at the top of the system so that the water is entering at the top and there is no wasted storage space.
That being said, it is perfectly acceptable to run the inlet pipe into the side of the system if required.
When constructing a soak away it is advisable to provide a vent to avoid air being trapped in the hole ,heavy rainfall will trap the air in the hole and block water getting in.
Soakaway crate systems do not typically require a vent. They efficiently manage surface water without the need for additional ventilation pipes. Attenuation Tanks on the other hand, do require at least one vent to maximize hydraulic performance.