No products in the basket.
Blog
How to Join Different Types of Plastic Pipe. Ring Seal, Solvent Weld, Compression, Electro-Fusion and more Explained!
Find out How to Join Different Types of Plastic Pipe & Fittings Easily With Our Online Guide!
At EasyMerchant, we carry a huge range of plastic piping; so we’re often asked about connection methods. With this in mind, we’ve put together a quick guide that’ll walk you through how to connect the following types of plastic pipe:
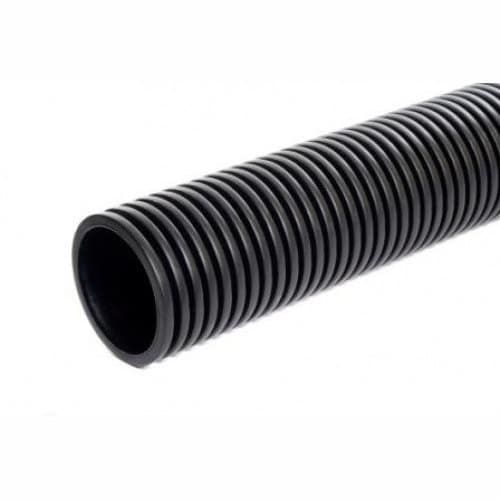
- Twin wall ducting & drainage
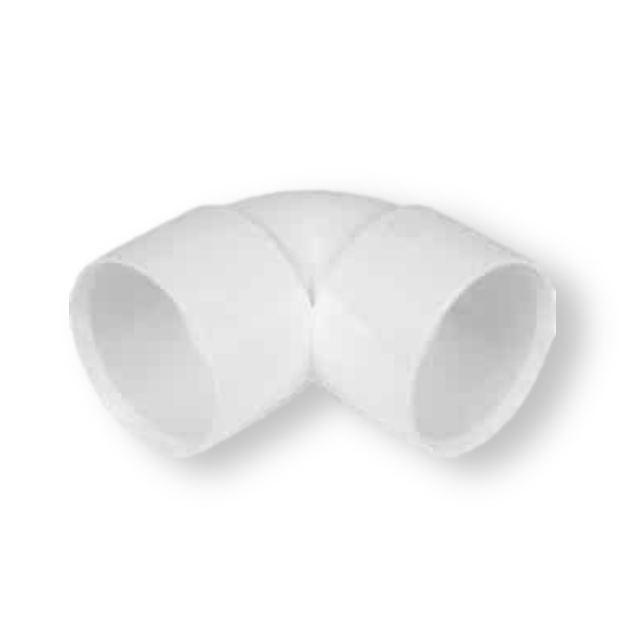
- Solvent waste & soil
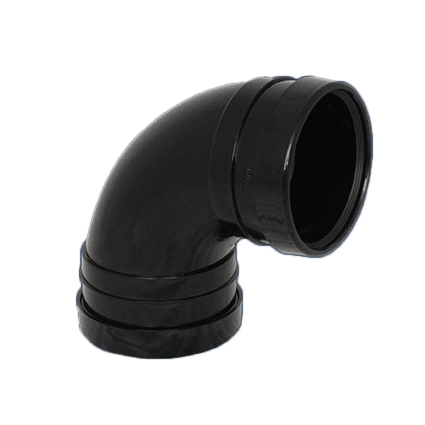
- Ring seal soil, waste and underground
- Electrofusion
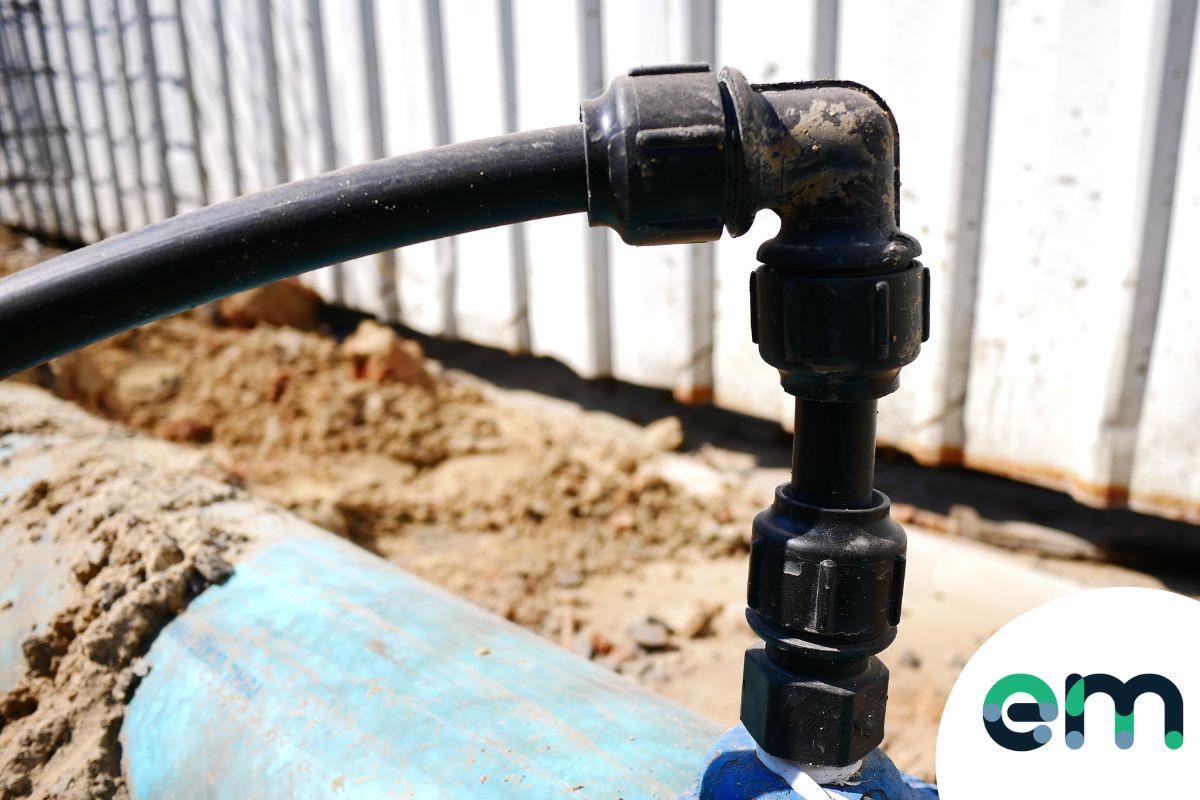
- Compression/mechanical
If you run into any problems when connecting any type of pipework, don’t hesitate to comment or give the EasyMerchant team a call.
How to Join Twinwall Ducting & Twinwall Drainage Pipes and Fittings
Most twin wall ducting products will come with a coupler pre-attached at one end – however, it’s wise to check this is the case prior to placing your order, to prevent any hold-ups. If you require a connection to another length of twin wall ducting, you’ll find a simple push fit between the coupler and the next length of twin wall ducting will adequately secure the two pipes.
Since the coupler doesn’t have an internal seal, you may experience a small amount of leakage, both in and out of this connection. If you’re simply channelling surface water, this may not be a problem – however, if you’re carrying waste – or a solvent with any chemical component, you’ll need to seal this connection.
Adding a seal is straight-forward; select the size of twinwall pipe seal you require and locate it between the first and second twin wall pipe ribs that will enter each end of the coupler. The coupler will now require a little more effort to locate correctly over the twin wall pipes – but is now watertight.
If your twin wall ducting system is going to carry solvent or soil with any potentially corrosive or harmful chemical element, you should consider nitrile seals. These are made to order and subject to lead times – but our technical team are happy to advise, based on soil reports and your specific requirements.
How to Join Solvent Waste & Soil Pipes and Fittings
Connecting a solvent waste pipe into a soil pipe generally makes use of a ‘boss’ fitting – either pre-formed in soil pipe you’re connecting to; or added as an adaptor as you make the connection.
If you’re using a boss pipe section, you’ll need to remove a portion of the soil pipe – although if you’re using a boss adaptor, you’ll simply need to cut the appropriate size hole in the soil pipe.
One of the most popular and time efficient connection methods involves using a strap-on boss adaptor. We’ll walk you through the 6 step method here:
- Cut the appropriate size hole in the soil pipe where you’d like the connection to be made.
- Using a specific pipe cleaner, thoroughly clean the area around the connection point.
- Apply a solvent cement weld around the hole and to the flange of the strap on boss
- Ensure the boss’ ‘top’ indicator is correctly orientated
- Push the boss and soil pipe together, ensuring a secure bond
- Maintaining some pressure on the bond, squeeze the clips at the back of boss together to secure the fit
When your solvent cement sets, you now have a permanent and sealed connection between the solvent waste and soil pipes – ready to accept a push-fit or a further solvent weld connection into the boss.
How to Join Ring Seal Soil, Waste and Underground Pipe
Joining ring seal soil, waste and underground drainage pipe systems is a simple and quick process – allowing for a system that can be easily dismantled if required.
Each section of the ring seal system has a chamfered end, which should be lubricated with either a silicone or water-based pipe lubricant – before being pushed squarely and evenly into the fitting. This compresses the rubber seal, creating an airtight and watertight joint.
When the pipe has been inserted into the joint, you should withdraw it by around 10mm, to allow for any expansion throughout the system.
How to Join Electrofusion Pipe and Fittings
Electrofusion fittings are normally used on gas mains pipe work and as such, shouldn’t be undertaken without comprehensive training and the appropriate certification. An electrofusion connection also requires a control box, for which a series of operating procedures apply. As such, this guide will offer a simple overview of the process – but we’re always more than happy to offer more in depth information and product recommendations if you’d like to speak with one of the EasyMerchant team.
- It’s important the polyethylene pipes you’re joining are clean and free from debris – but don’t yet remove the remove the protective wrap
- Place the electrofusion fitting next to the pipe and mark roughly 10-15mm further down the pipe than half of the socket depth
- Using a pipe end preparation tool, remove the entire surface of the pipe over the marked area, ideally in one long continuous movement
- Repeat this process for the second, adjoining pipe end
- Mark half the coupler depth onto either pipe end to ensure an even depth connection – both should meet the centre stop
- Clamp the two pipes into place to ensure zero movement as the fusion process takes place
- Connect the ECU outputs to the fitting terminals and operate the control unit according to specific user procedures
- If your coupler has melt indicators, check that these have risen when the process is complete
- Mark your cooling times on the pipework next to the fitting – along with any other information, such as joint reference numbers and dates
When the process is complete, you’ll be left with exceptional strong, airtight, watertight and homogeneous connection.
How to Join Compression / Mechanical Pipes and Fittings
Compression or mechanical pipe connections are some of the most commonly encountered in domestic settings and often represent a great combination of low cost and simple operation.
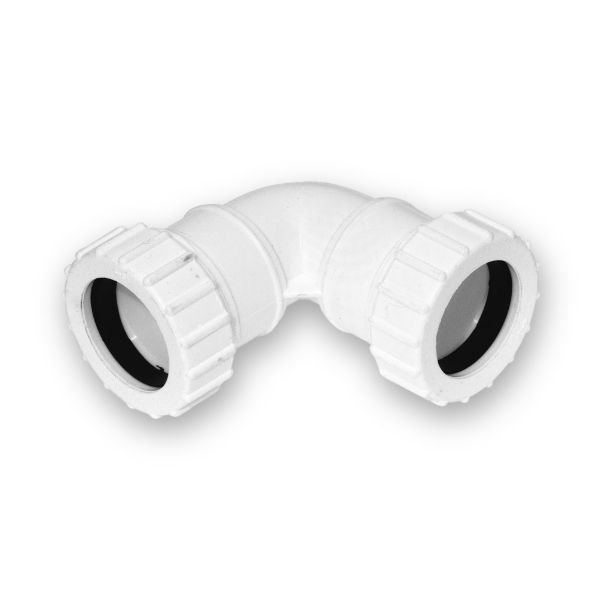
The end body of a compression style MDPE pipe joint is formed to create a partial dish shape, this dish houses a cone shape rubber washer, which is then generally topped with a tough plastic washer. Over the top of these washers, an MDPE threaded ‘nut’ attaches to the threaded section of the joint, compressing the washer stack, causing it to expand laterally.
So, connecting a compression joint to a pipe becomes a simple task:
- Clean and deburr your pipe, ideally with a wire wool to remove any dirt and residue
- Entirely open the nut and washer stack on your compression joint
- Reverse the nut, washer and rubber washer onto the section of pipe you’re connecting to – the rubber washer should be a tight fit and should sit at least 15-20mm onto the pipe
- Slide the joint body onto the pipe, until it sits snugly against the rubber washer
- Slide the washer and nut down the pipe, until it covers the rubber washed and bites the threaded section of the joint
- Then simply tighten the nut – compressing the rubber washer – and creating a secure, watertight connection
Mechanical compression MDPE pipe fittings and joints are simple to use and extremely reliable, making them ideal for waste pipes and traps.
We at EasyMerchant Limited hope this has helped you, for any other information please contact us using our contact form, or call us on 01371 850120
loved reading your article. it was really informational for me. wish to see more in the coming days.