No products in the basket.
Blog
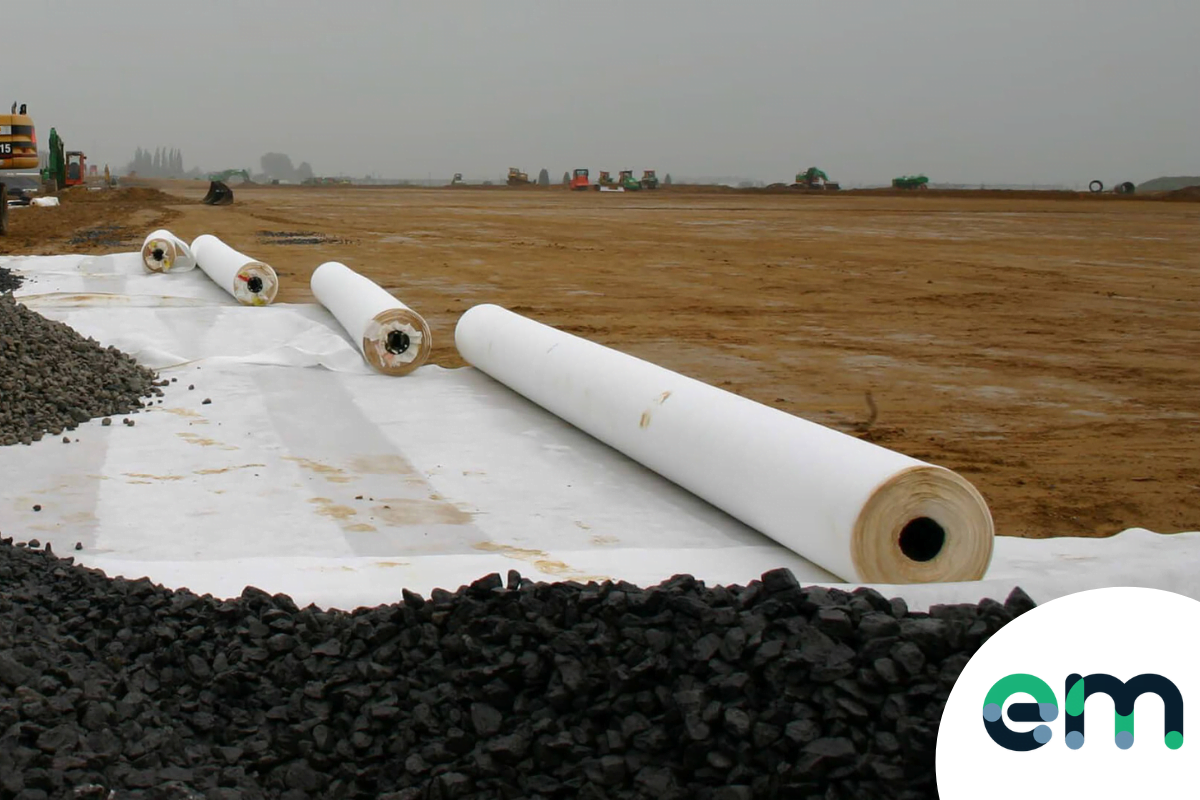
5 Tips for Laying Geotextiles Flawlessly
17
Apr
Apr
5 Tips for Laying Geotextiles Flawlessly
Here at EasyMerchant, we buy our geotextile membranes in huge quantities, so we can pass big discounts on to you.
That said, no matter how much you’re paying for geotextiles, you definitely want to make sure you’re getting the installation right first time. You don’t want to have to buy additional rolls if you make mistakes – and you definitely don’t want to be digging it back up to take a second shot at laying it.
With that in mind, we’ve put together 5 tips that’ll help you make sure you get the job right first time.
Tip 1: Think about overlapping before you order
It’s not at all uncommon for people to under-estimate the amount of textile they’re going to need for a job.
Why?
Well, it’s usually because overlapping isn’t considered when measuring up.
The overlapping and joining method you use will depend on the load capacity you’re hoping to achieve, but it’s not uncommon to lose 5-10% of your overall textile surface area to get it exactly right.
This probably isn’t going to be a problem if you’re laying something small like a driveway or paving – but if you’re working over a large area, this can leave you short and waiting for additional rolls if you’ve not considered it. Usually you’d be looking to overlap each section or joint of geotextile membrane by between 300 and 900mm with the average being 500mm. The joints can be secured using either waterproof tape, fixing pegs, or glue. Sometimes it is welded using a heat machine.
Tip 2: Make allowances for a weaker subgrade
Most geotextile guides will suggest fill depths of between 8” to 12” (20cm to 30cm) – but you’ll probably want to allow for more if you’re working on top of a weaker subgrade.
If your subgrade is especially weak or of a loose composition, you’ll probably want to allow for 18” (45cm) or more.
Obviously, this is a crucial part of planning your job – so it’s important to understand what conditions you’re working with before you measure/price up. The difference between 12” and 18” might seem negligible over a small area – but it’s realistically going to mean 50% more fill, so you want to make sure you’re planning and pricing accordingly.
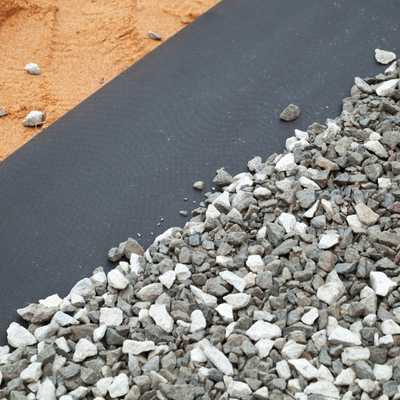
Having a sufficient fill on top of the membrane helps to stop the membrane from being punctured once traffic moves over the top of it.
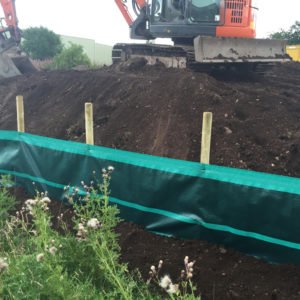
Tip 3: Prepare your site properly
There’s likely to be a lot of legwork involved with preparing your site properly for a geotextile, but it’s a vital part of the process if you want a good end-product.
Sometimes, this means entirely removing trees, roots, and other large obstructions. Equally, if you find pockets of soil that are weaker than the surrounding area, you’re going to need to replace these with a suitable granular fill/aggregate to make sure everything’s stable.
Don’t be tempted to cut corners at this stage. Imperfections are compounded as you start putting layers down – so what starts as a slight bump can end up as a horrendously uneven surface when you finish the job.
Tip 4: Have a dress rehearsal
Got your site prepared and smooth? Good, now it’s time to get everything laid out.
Don’t be tempted to start securing your membranes until you’ve put everything in position first. Sure, if it’s a windy day, then it can be weighted down to avoid losing them – but don’t start pinning or joining until you’re absolutely certain that everything’s exactly right.
If you run into any unforeseen issues on your dry run, everything will roll back up – but if you’ve started pinning, taping, or stitching – undoing your work becomes a serious headache.
Tip 5: Secure your corners
When you’re absolutely confident that you’re ready to start laying your geotextiles and you’ve got your joins/overlaps planned out, you can start getting them secured.
Landscape group staples or plastic ground fixing pegs is usually what you’ll need (glues or tapes can be used also) – and when your starting point is secure, you can get the suitable amount of tension on your sheet. The tension you need will depend on the manufacturer’s instructions that come with the particular membrane you’ve ordered – but you’ll generally want to make sure it’s taut enough to stop any creasing or bunching up that would compromise the layer you’ve created.
Need any help?
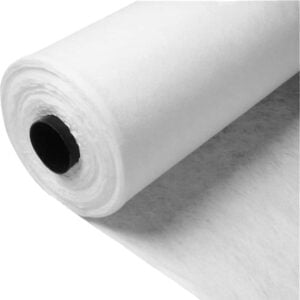
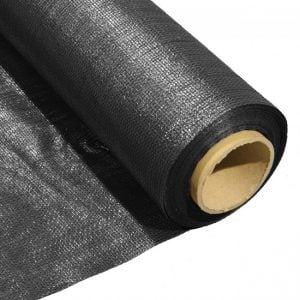
We don’t just stock terram geotextile here at EasyMerchant – we also know every one of our products inside-out.
Whether you’re at the early stages of planning a job and need some help deciding which kind of textile is right – or you’re watching an excavator prepare your site and have a last-minute question, we can help.
Author Bio
Nathan Wilde

Nathan has been in the drainage and plastics industry for over 12 years. Having worked for both builders’ merchants and major manufacturers Nathan has gained a significant amount of industry and product knowledge. Now at EasyMerchant Nathan has dedicated himself to making trade’s people’s lives easier.
Shop Geotextile Membranes

Out of stock
Sale!
Great tips. Thanks for sharing !!!
Helpful