No products in the basket.
Blog
A Guide To Soakaway Systems
24
Nov
Nov
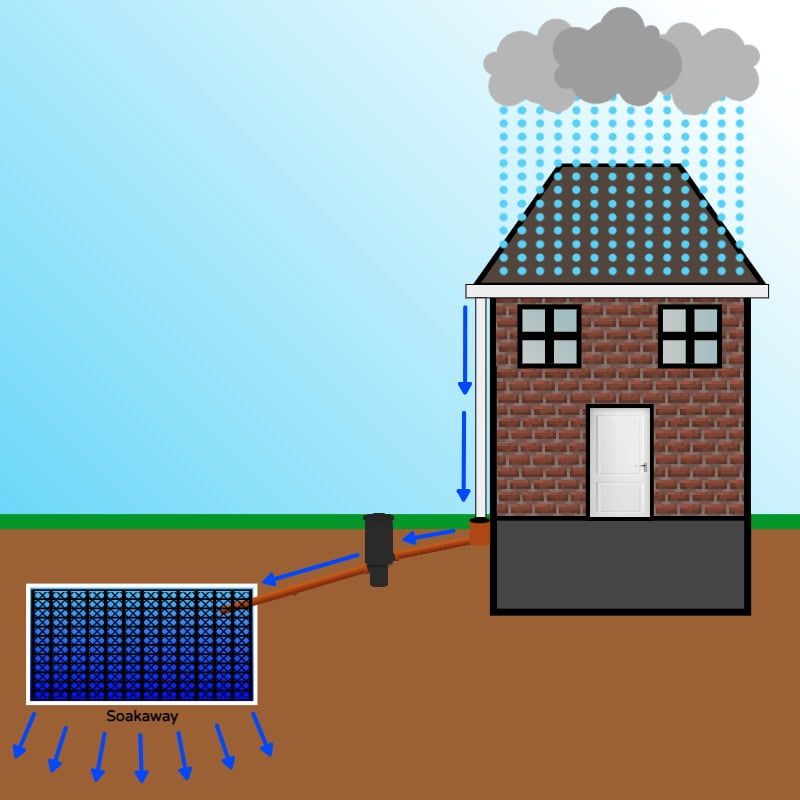
If you have surface water pooling around buildings due to heavy rainfall, installing a soakaway could solve some of your drainage problems. A soakaway is basically a big hole dug into a garden that collects excess rainwater and allows it to drain away into the ground more gradually, rather than letting it all sit on the surface and lead to a waterlogged garden.
As well as being a cost effective drainage option, soakaways are straightforward to install, long lasting, simple and yard-friendly, they are one of the most eco-friendly drainage methods out there. Here’s a quick rundown on what they’re for, what you’ll need to make one, how to install one, and how to make sure it lasts or years.
Using Soakaways
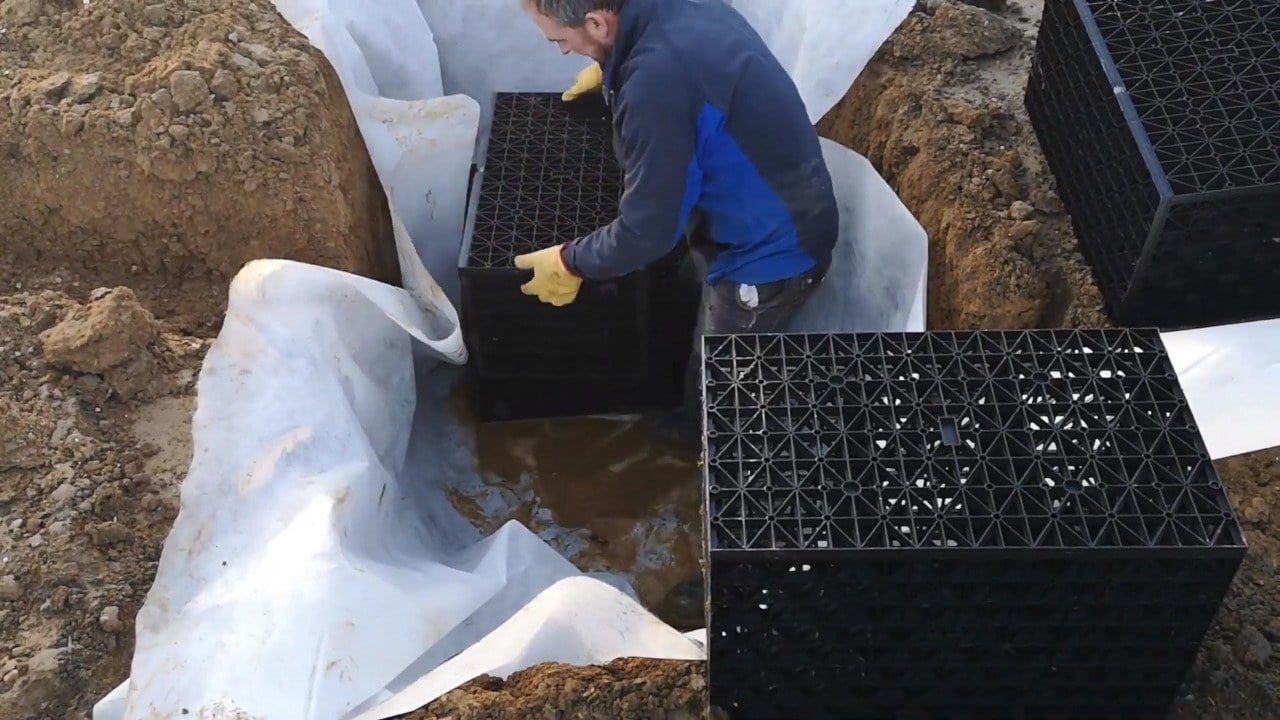
A soakaway is usually built at least 5 to 10 metres away from a building (it has to be at least 5m from a building or retaining wall) and is designed to have rainwater directed to it from the existing drainage system. From there, it can percolate (drain away) into the ground at a slower rate. Usually crates are used and with the help of a permeable non woven membrane, they’ll provide a large void or tank underground that the water will drain from slowly, meaning the yard or garden doesn’t get waterlogged and start to leave pools of surface water. If the property is on a tilt or slope, you’ll want to dig out the pit at a lower point to make sure water can flow in.
Quick note – never empty sewage into your system, as not only will this lead to a blockage, it is also illegal. It’s also worth noting that discharging rainwater into the sewer system is also illegal as it can flood the sewage treatment plants causing them to dump untreated water into a watercourse. Therefore a soakaway system is a perfect way to drain rainwater away legally.
It’s important to note before you start ordering materials that you need to check your local planning regulations, as some properties are in protected areas that aren’t allowed to have soakaways. You might also want to check your soil’s absorption rate with a percolation test – if the soil is too soft, it won’t release water, meaning that there’s no point investing in a soakaway!
The Parts of a Soakaway
While soakaways aren’t a complicated type of drainage system, they still need a few different parts to function. Here’s a quick checklist of what makes up a typical soakaway system:
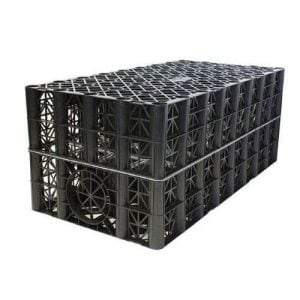
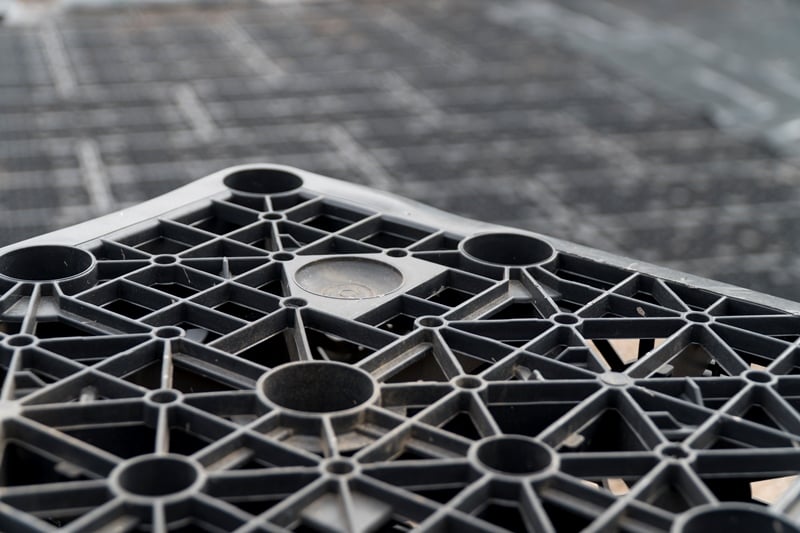
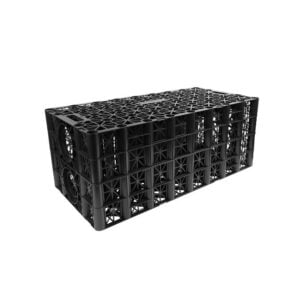
Soakaway Crate
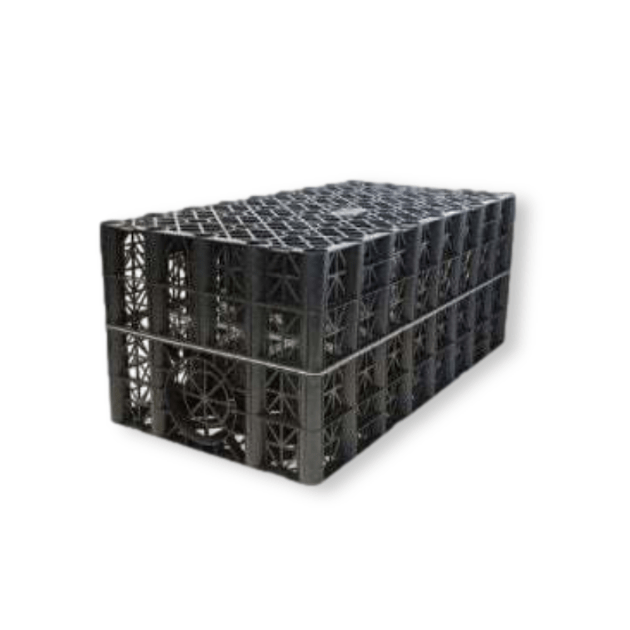
The soakaway crates makes up the main part of your soakaway system, and is what collects the water and allows it to drain out at a better rate. Soakaway crates are modular, meaning that you can stack them and put them next to each other depending on the size and structure of your soakaway, and can be used with permeable membranes and pipes to help reduce the surface water in the surrounding area. You can buy a soakaway crate kit to make your life easier, as this comes with everything but the drainage pipe and gravel. They come with a high void ratio, usually at least 95%. A void ratio basically means the amount of empty space inside that can hold water.
Underground Drainage Pipe
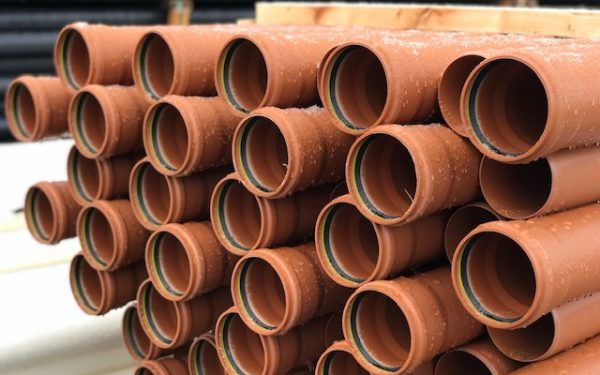
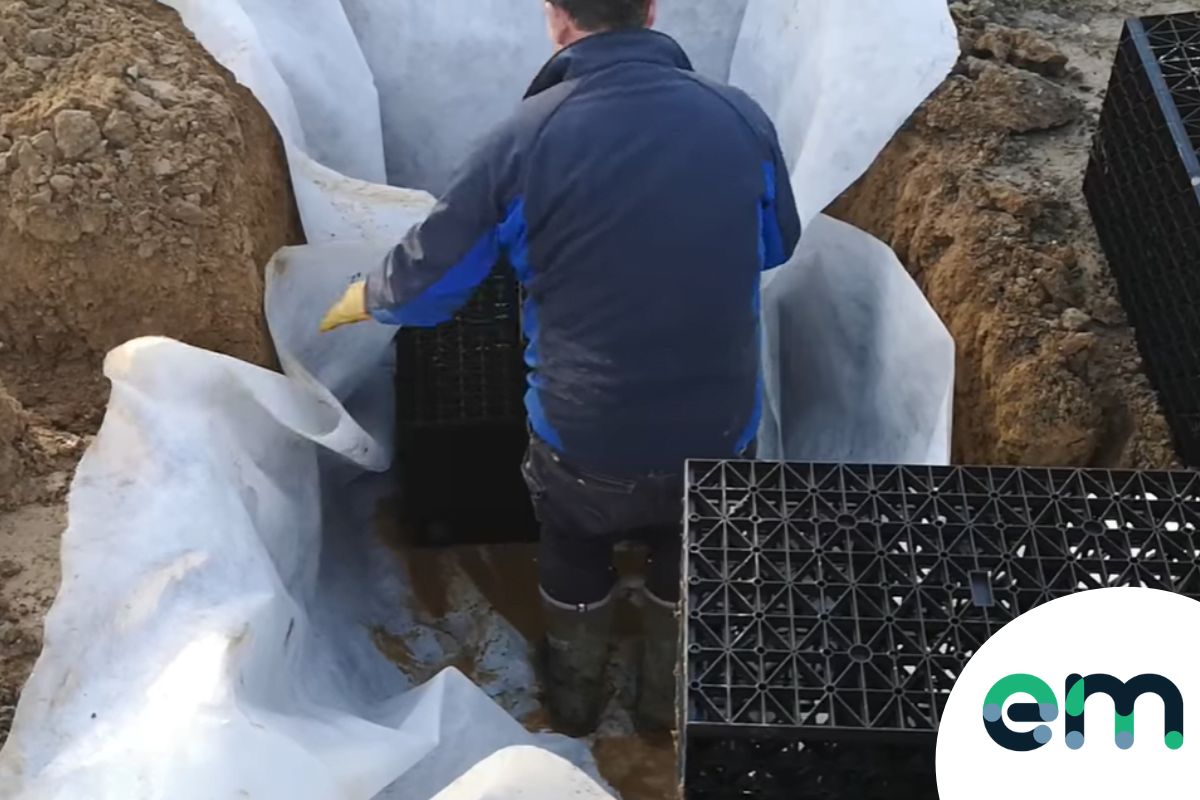
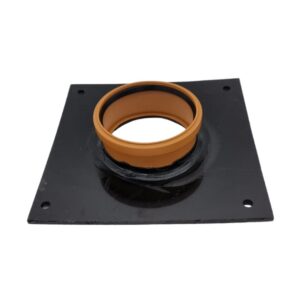
Once you have dug out your hole for your soakaway system you will need to dig a trench for your underground drainage pipe to connect to your rainwater drainage system. If using a silt trap, you will need to ensure that this forms part of your run between the rainwater drainage and your soakaway system. If your soakaway crates contain inlets, you will connect your pipework to these. If they do not you can either use a hole saw to create an inlet or alternatively, you can lay the pipe on the top of your crates prior to wrapping in non-woven geotextile to ensure that no silt/debris gets in and clogs your soakaway system.
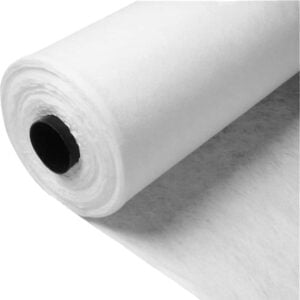
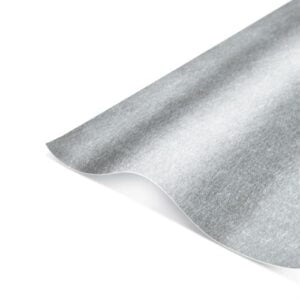
Geotextile Membrane
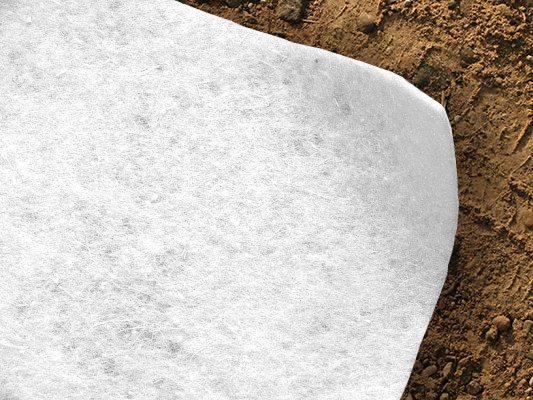
This is a kind of permeable geotextile membrane that stop debris from getting into your soakaway crate while still allowing water to seep through. For a soakaway system, you’ll want to get hold of a non-woven membrane – just line the sides of your crates with it and tape it into place! Make sure you do not use a woven membrane with a soakaway system as it’ll hold onto the water and not allow it to drain properly.
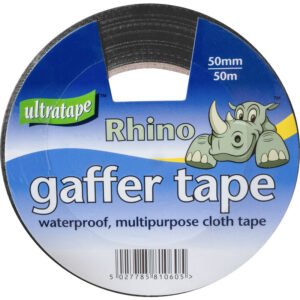
Waterproof tape

Waterproof tape is used to join the membrane.
Shingle
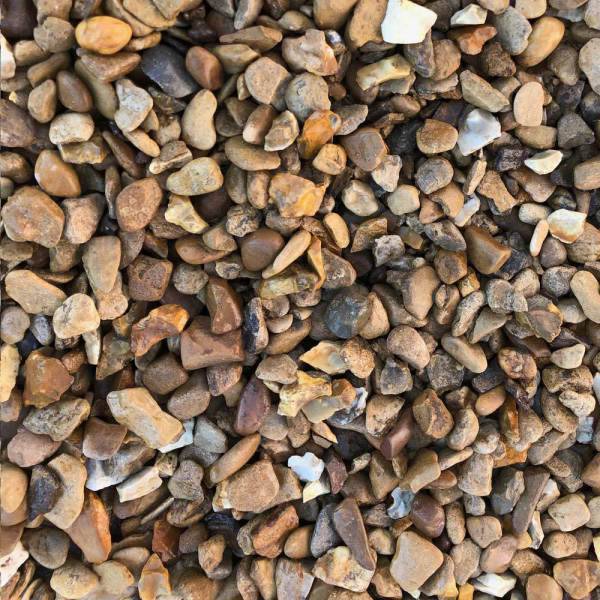
Once your non woven geotextile membrane lined crate is in place, you’ll need to fill the back and sides of the crate in with some shingle (usually 20mm), and put an extra layer on top to then cover over with soil and whatever other landscaping material you’re using. It’s important to use a pea shingle, and not a sharp shingle that could puncture the membrane.
Gravel / Top Soil

This provides “cover” on top of the soakaway crate system. You’d usually need at least 400mm to protect the system underneath.
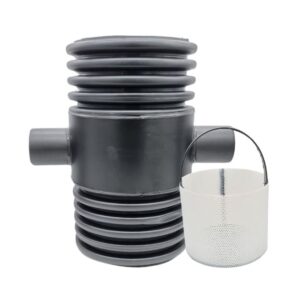
Silt Trap
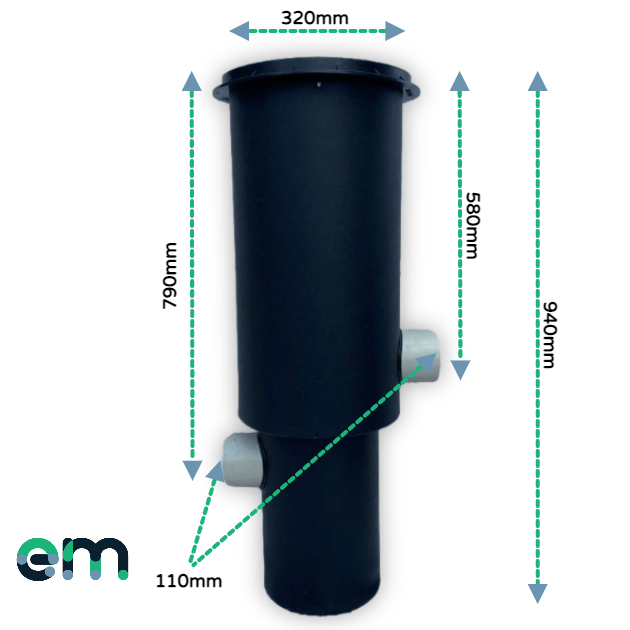
This is optional, but a silt trap can help your soakaway system last much longer by trapping debris and preventing blockages from forming in your crate and pipes. It needs a bit of maintenance in the form of emptying it occasionally, but compared to installing a whole new system, it’s worth it in the long run!
Installing Your Soakaway
It’s pretty simple installing a soakaway drainage system, but you’ll need to make sure before you start that the size and type you’re using works with the amount roof area or standing water you need to control – you don’t want to install an entire system only to find that the rain overwhelms it anyway or that it doesn’t work as the soil conditions weren’t correct. You’ll need to make sure that you have enough crates to match the rainfall, that the soil type is under consideration, and that you know the capacity of the crates you’ve bought before you get them.
Here’s a quick run through the basic steps of soakaway installation:
- Dig out a pit in the ground for your crates to sit in
- Dig out a trench for your pipes (usually 110mm drainage pipe) that will bring the water into the crates
- Add 150mm of 20mm pea shingle to the bottom of the pit
- Lay out the membrane at the bottom of the pit, leaving enough for the sides and top of the crate system to be covered with it.
- Add the crates into the hole on top of the membrane
- Wrap the whole system in the membrane, including the inlet pipe to stop anything from getting inside the system
- Fill out the sides of the soakaway with 150mm of pea shingle on the sides and top
- Replace the soil on top with at least 400mm of cover.
Additionally, if you’re using a silt trap, you can fit that along the drainage pipe run.
Ensure that you’ve installed everything correctly, as if not, you could face problems like blockages down the line (if you’re worried about doing the job right, you can always get someone trained in to do it instead).
Soakaway Maintenance
The main maintenance problem you’ll have to worry about with any soakaway system is blockages – but there are other problems that you can’t always fix! For instance, if a pipe has a hole or has been punctured by a tree root, you’ll need to completely replace it (or get someone else to).
Unblocking a Soakaway
Unfortunately, unblocking a soakaway isn’t something you can do. It’s better to avoid the situation from occurring in the first place. This is why a silt trap is definitely recommended, especially for the larger systems. It may seem like a bit of extra cost, but it will likely save a lot more money further down the line.
What Is The Difference Between A Soakaway And An Attenuation System?
The difference is quite simple, a soakaway crate has the job of soaking the water away and back into the surrounding soil. While an attenuation tank essentially acts as a storage system for all types of water such as rainwater and surface water, which would then be pumped or drained away somewhere else.
If you are unsure which is going to be the most suitable option for your job then please don’t hesitate to get in touch and we will be able to help give advice on this subject.
Shop Soakaway Systems:

(28)
From £228.03 Excl. VAT
Sale!