No products in the basket.
Blog
Horse Arena Construction
27
Jan
Jan
Where to build your arena
Make sure to choose the right location for your horse arena. There are various things that you must think about prior to the actual construction. There are some that you will have thought about yourself, and some that you may want to consider. In this guide we will go through some key considerations when planning and building your horse riding arena, and go over some of the basic points of the construction process.
Ensuring there is a good entrance to the site
A lack of accessibility to the area that you plan on using to build your horse arena can mean several things. Firstly it may mean that the supplier or courier of the goods that you need will not be able to directly make delivery to the site, this would mean you may have to pay excess haulage fees. Along with this there are often large pieces of machinery such as diggers and lorries that will be needed for the building of your riding arena. This means that the builders responsible for the job will have to pay to have smaller vehicles perform the same job which furthers the time it will take for the job to get done and will incur extra costs. So we highly recommend that if you have enough space and choose somewhere that can be accessible to everyone and large vehicles.
If you have poor access and there is not enough space for the bigger vehicles carrying materials to get directly to where you need them, is the option to speak to a local farmer? They may allow for you to have the goods dropped on their land for a price that beats the haulage expenses, from there you can find a way to transport the goods in smaller vehicles to where you need them. Furthermore, farmers are equipped with the right machinery to take the goods where you need them or load them to smaller vehicles, so is it possible to cut a deal?
Choosing the correct place for drainage
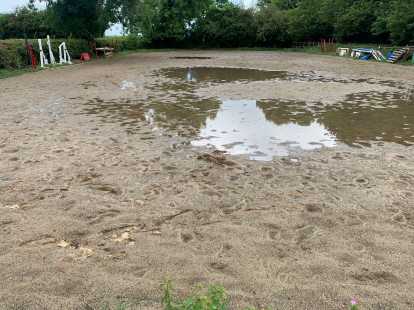
It is important to note that drainage is very important in the construction of a horse arena and improper drainage may cause a serious problem. Before deciding on a location for your arena you must know where the water from the drainage system is being discharged to. Popular options include a soakaway system or just a regular ditch. However, be aware that the regulations surrounding discharge are different in each area, so be sure to check with your authorities.
Getting the correct levels
It is always recommended that a minimum amount of excavation is best. It goes without saying that the more uneven your site is the more excavation will be needed. If you have no other option but to excavate a large amount of land you must be aware that there are often large costs related to this and there will be a lot of excess materials to get rid of once the process is complete. If there is land that is on a slope then you may opt to use the method of cut and fill. Essentially this means soil is taken from the higher side and used to help level out the lower side. Unfortunately if you have to level out there is little you can do to reduce the costs required to do so.
What to do about exposing my arena to the elements?
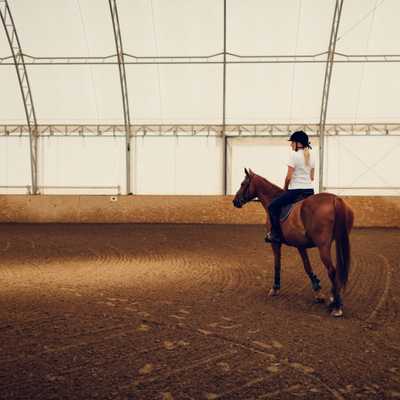
Horse arenas can be susceptible to loss of aggregates. For example the silica sand used as a top layer can be temperamental and when it dries up may blow away when there are strong winds. There are certain precautions you can take such as building your arena indoors or if outdoors choosing a location adjoined to a hedgerow or surrounding the arena with trees which can act as a wind defence to the arena.
How to correctly mark out your area and excavate the land for your horse menage construction
Once the correct area has been chosen based on the factors that have already been discussed, the excavation process can begin. Remember, as with any project when making the markings always give yourself extra room by making the markings for your arena slightly larger than the finished arena is planned to be. Furthermore it is good practise to have a metre of working room around the outside of the land you will be excavating. An example of this would be if the land that you will be excavating is 100m x 80m, then you would look to excavate an area of 102m x 82m to make sure there is plenty of room to get the work done to a high standard.
The best way to mark the corners of the arena will be to place wooden posts at each of the corner points. Then when marking out the area that you want to dig you must first start with a string line between each post and then spray the ground using line marking spray to make it easier for the digger to follow along the required line.
A quick tip to check if the area is correct is to check the diagonals, if they are the same you have done it correctly.
After this you are ready to get cracking. The first place to start is by removing the topsoil to reveal the subsoil. The subsoil can be identified through being the first layer of soil below the surface soil. The reason you can’t go straight in and build on the initial soil is due to its low load bearing capacity. The topsoil itself must be removed and either neatly piled or sensibly gotten rid of. The beauty of topsoil is its ability to be reused, however in some cases you may even be able to sell it and get back some of the money you had to spend on the removal of it. Be sure to keep your soil in a good state because it will make the finishing touches on the landscape job easier.
What drainage method do I use for my project?
Once the land is excavated it is time to prepare for the heart and lungs of your equestrian riding arena, the drainage. Remember that if the drainage is not up to scratch then the top layer, regardless of the quality, will not perform well. The best form of drainage would be the ‘Herringbone Drainage System’. This requires a 100-150mm underground pipe that runs central through your arena with 75mm-100mm lengths of perforated pipe running 45 degrees towards the central pipe from the edge of the arena. Each of the lengths running towards the central pipe must be spaced five meters apart. The central pipe itself discharges into whichever form of drainage you are using, for example it may be a soakaway or a ditch. Ensure that the depth of the pipes are installed in correlation with the discharge point, however the trenches should be moderately shallow.
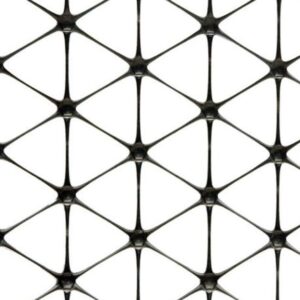
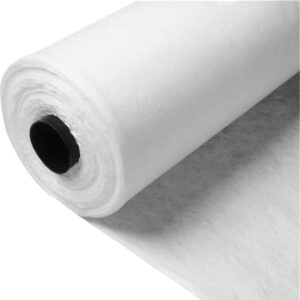
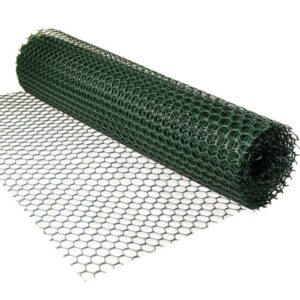
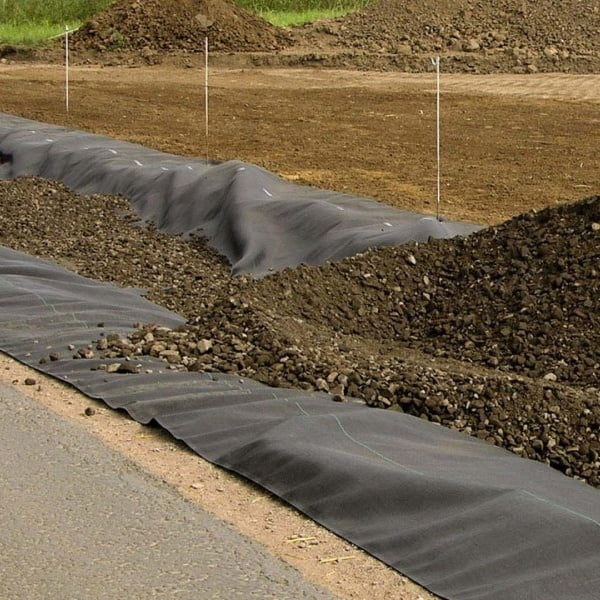
Using woven membrane for equestrian riding arenas
The next stage in your arena construction is to lay the bottom layer of geotextile membrane (woven). The woven membrane should be used to cover your entire area. The geotextile membrane should act as a stabilising membrane to stop anything that goes on top of it from mixing into the soil beneath and therefore it stops pitting and puddling.
The membrane should be installed correctly ensuring that all the areas where the perforated pipework will sit are covered in order to maximise the protection and overall performance of the system. If you’re wondering which membranes you should use you can find information on our blog: Horse arena membranes-which one should I be using?
Moving forward the perforated land drainage pipes can be put into their channels and then backfilled right the way back to their original excavation level. In short backfilling is the process of refilling a cleared area. When bringing back the excavated area to the correct backfilled level, you would use 20mm pea shingle. This must be clean to stop any blockages occurring etc.
Sub base and fencing for riding arenas
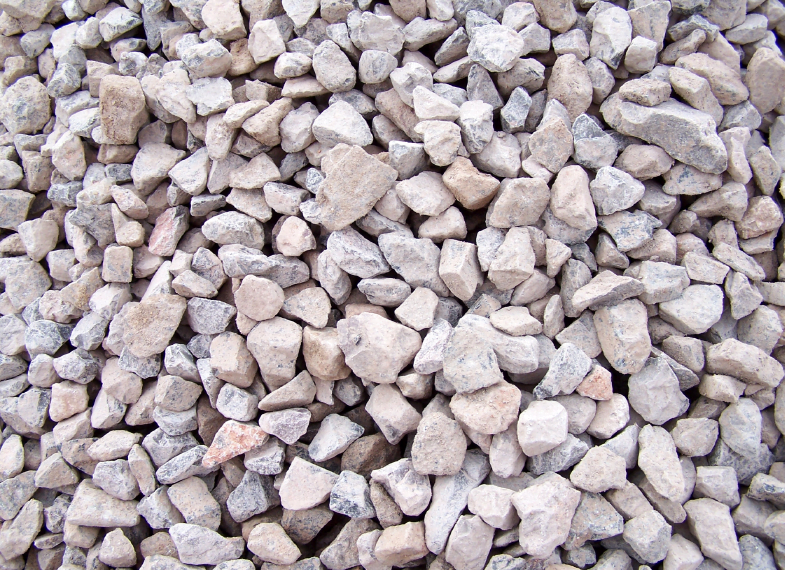
Once the site is levelled out you should now be thinking about getting your sub base installed. The ideal depth for this is six inches. When looking for your sub base material you may be limited in your choice depending on where you live. We would give the advice that if the option is there and the cost is right, you should always go for small rocks like crumbled limestone. This is because they provide a pure sub base which is better than a lot of materials that may have impurities. Impurities are common with recycled sub base material however this is wholly dependent on where you choose to source the material as they may be just as pure as crushed rocks. Nonetheless, we would always advise you to choose crushed rocks for a sub base if the option is there.
It’s worth mentioning that the job of the sub base is to help take away the amount of water pressure being placed on the below drainage system through trapping the water in the event of heavy rainfall. For the sub base to work to the best of its ability, the material should be 75-40mm in size, if the sub base rocks or recycled material is larger than this it will hinder its drainage ability and if they are smaller it will pass right through and pass too much pressure to the drains. This process should be performed using a good standard laser level and an excavator who uses a roller to compact it down.
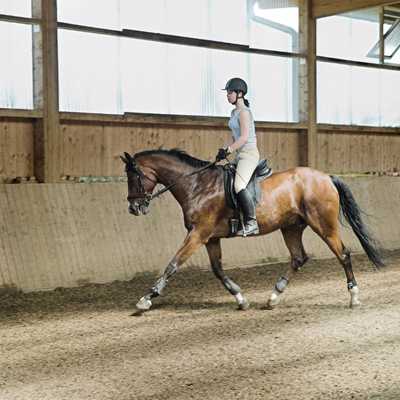
In terms of the fencing for equestrian arenas you should look to use a three bar post and rail system as it is proven to be the best of its kind. The bars should connect to the inside of the posts being used. The primary reason for this is to prevent both the rider and horse from getting hurt while using the arena. The best way to install these is to to use a post knocker, to ensure that it goes down far enough to reach the subsoil. Don’t forget to attach gravel boards to the bottom of the posts. This will ensure your posts are protected against wet soil and any other waste it may come into contact with.
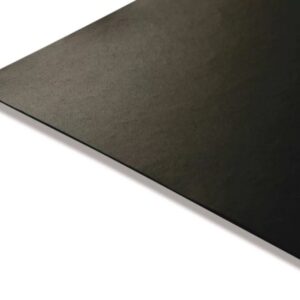
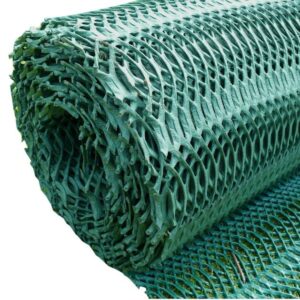
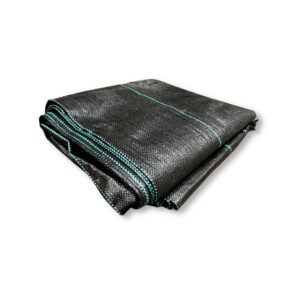
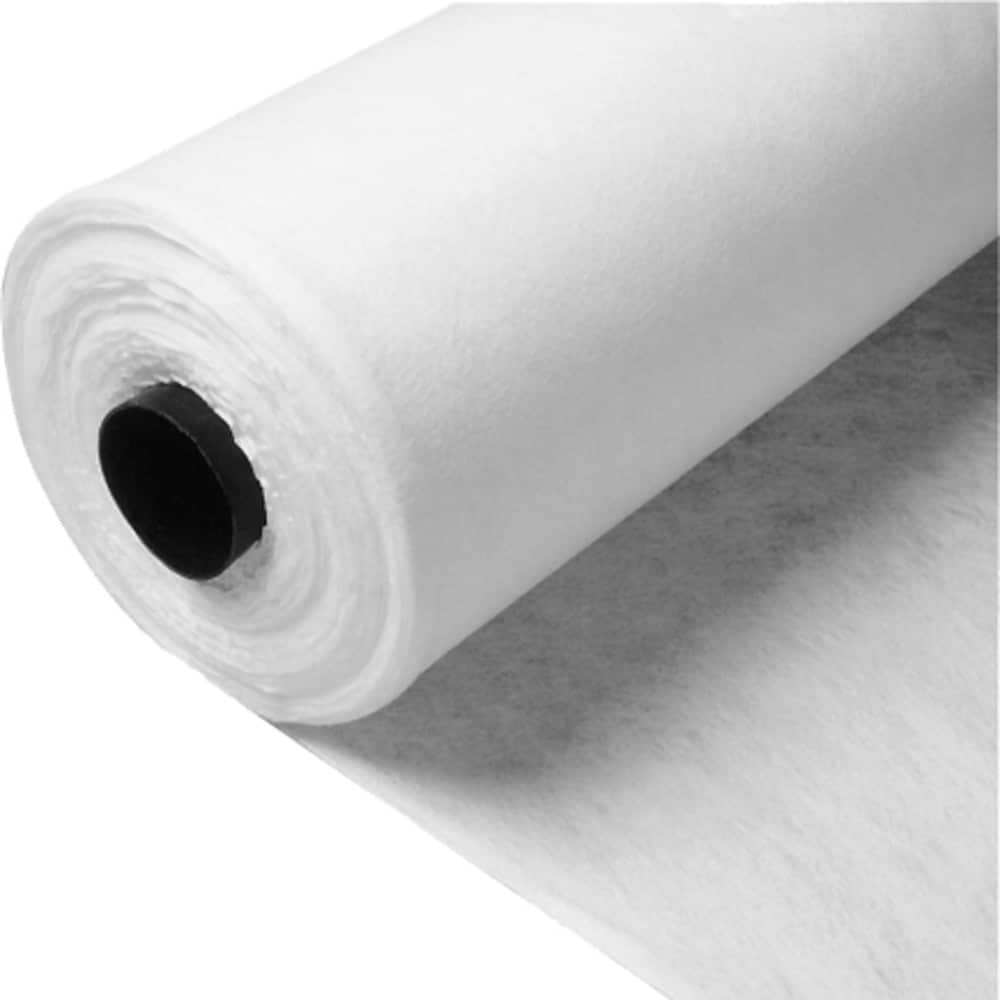
Using non-woven membrane for equestrian riding arenas
When fitting the upper membrane section it is important to get this part right, you must ensure your using a non-woven geotextile membrane that is at least 300GSM in weight. If this layer of membrane is not installed correctly or if a lower weight is used it can become damaged and lead to a loss of the silica sand. Remember to fix the membrane to the gravel boards making sure that the joins are correctly sealed. The reason for this is because the sand on the top layer may come through gaps, and cause problems for the layers below. Furthermore as the sand makes its way down through the gaps it will force the membrane to the surface which could become a potential hazard for the horse and rider. Once again you must also remember to be using the correct GSM for your type of arena so don’t forget to skim over our other blog that talks about this: Horse arena membranes which one should I be using?
The reason you need to use a non woven geotextile rather than a woven one is because it allows the water to drain through it and into the drainage system below. The woven membranes don’t drain as easily so you could end up with water pooling. The membrane will also keep the aggregates separate and stop the sand from mixing in with the sub layer below, helping to stabilise the ground.
What to use for your surface layer?
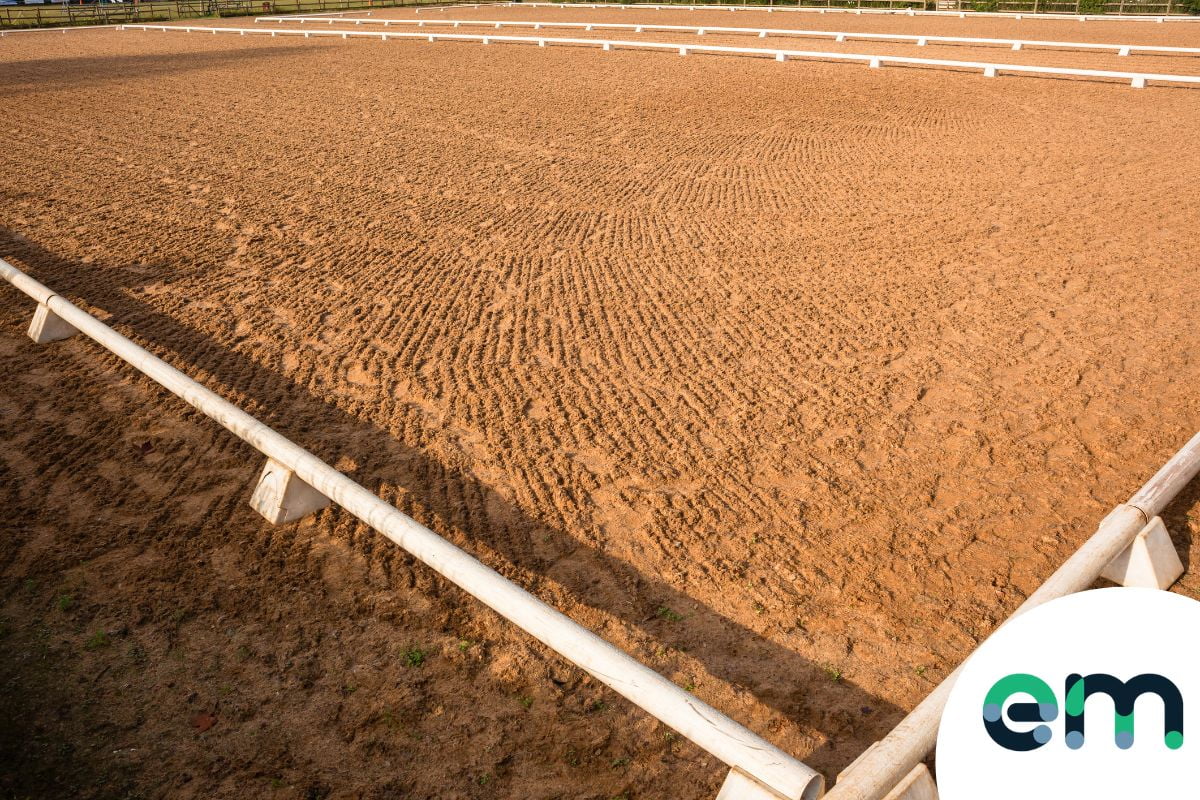
Most people will tend to go for silica sand for the top layer, sometimes with rubber chippings included however the choice of aggregate will depend on how much you have left to spend after the main body of the riding arena is complete. The sand must have a depth of at least 4 inches and while layering this, no vehicles should travel over the geotextile membrane because it may result in damage to the membrane which would allow aggregates to pass through and void the membrane’s function. Often horse arena construction specialists will create a past of sand for the vehicles to pass through to create an access point to pour the rest of it. A roller and a laser level should be used to ensure that it’s all level similarly to when the sub layer was put in place.
Finally, you can finish by adding two inches of rubber chippings to the top of the sand (if desired). Once this is done your equestrian arena construction has come to an end, and you can look forward to many hours of riding ahead.
If there is anything that you are not sure about you can drop us an email or a phone call and we will be more than happy to help!
Shop Horse Arena Membranes: