No products in the basket.
Blog
How to go About a Ducting Installation the Right Way
08
Mar
Mar
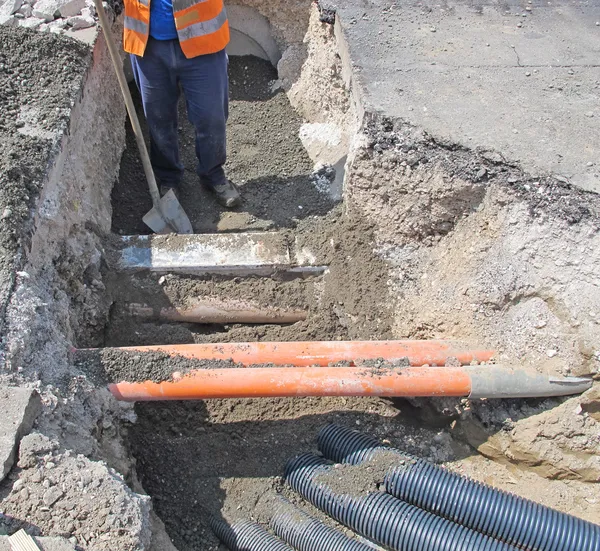
Twinwall ducting is used by installers to ensure that pipes and cables running towards or away from a system are protected against external forces that may affect the way that they should be functioning. Ductwork also indicates to an installer that there are important underground drainage pipes or services in place, further meaning that it will be left alone or easy to work on if necessary. So, it is important that the installation is done to a high standard as it makes future work much easier and ensures that, whatever if passing through the duct itself, it is able to do what it is meant to do.
Correct ductwork installation sounds all well and good, but making sure that it is done properly is the important thing. In this guide we aim to go through the important things you should know about installing ducts. Whether that may be the fitting of it or simply getting your head around the do’s and don’ts for each type of ducting, this guide will help you to understand the legalities behind the process!
Knowing what colour to go for
Before starting any project, it is essential to ensure that you are getting the basics right. When using ducting, the colour that you need to use is dependent on what will be passing through it. It is worth noting that getting the right colour is paramount to making sure your project is completed in the right way because it is illegal to use the wrong colour ducting for an installation in the United Kingdom. The colour of the pipes helps indicate to workers what is going through the ducting, meaning that when there is work taking place around them, the necessary approach can be taken in accordance with the ducting in use.
For an accurate ducting installation, the colours are as follows.
- Blue = Blue water main ducting pipe
- Orange = Orange Street twinwall street lighting/traffic signal ducting
- Grey = Telecommunications
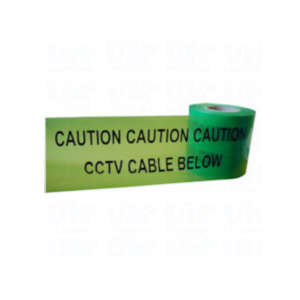
- Green = Green twinwall CCTV/fibre optic cable ducting
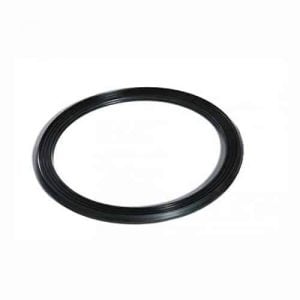
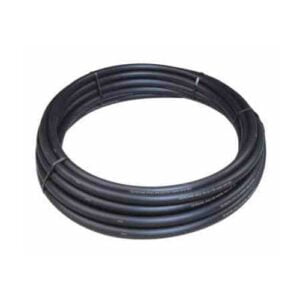
- Black/Red = Black electrical ducting coils and High voltage black/red class 1 electrical ducting
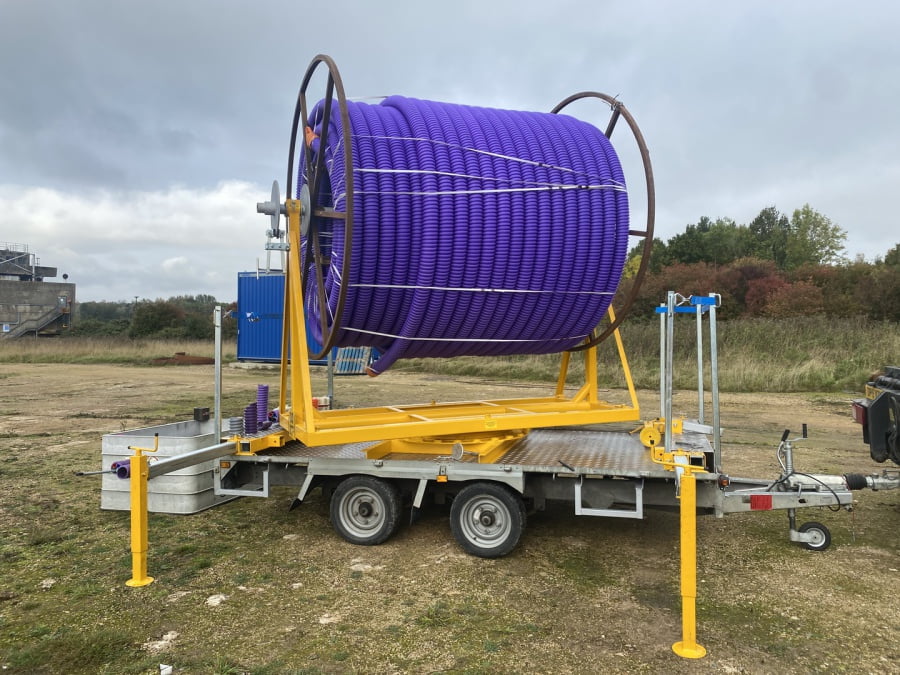
- Purple = Purple twin wall motorway ducting pipe
- Yellow = Yellow gas duct coils
Which material is right for your job?
We would always recommend talking to a utility expert before making a choice about what material is right for you. However, there are a few general points you can follow that are commonly used across the board.
What is best for short distances?
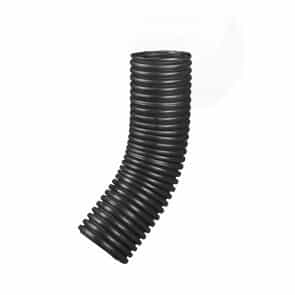
- When laying ducting over short distances, we would highly recommend the black electrical cable duct pipe x 6m as they are made out of high density polyethylene. You may want to go for these six meter lengths because they are easier to handle over short distances compared to the coils which can make life more difficult due to them being 25 meter or 50 meter coils. The six meter lengths tend to be used for cables.
What is best for long distances?
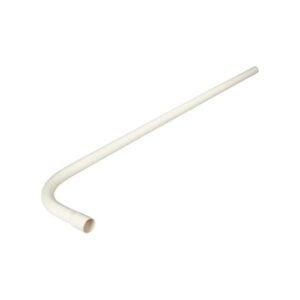
- An installation over long distances is where the flexible coils (25m/50m) come into play. Installations of electric cable to buildings often require the use of flexible coils. You can also get them in coils of twinwall HDPE (high density polyethylene). This essentially means that when performing certain ducting installations in areas that are not standard, the ducting is able to handle sudden changes in angles due to it’s increased flexibility. With a ridged outer wall and smooth inner wall both built out of polyethylene, the structure and strength of the ducting is enhanced, making it that little bit more reliable while maintaining the ability of regular pipes to have wires and pipes pulled through them. However, try not to make the common mistake of purchasing bends that are too rigid for the pipe and what you are running through, as this will extend the time of the whole project.
Do you need a duct with extra strength?
- When you are in a situation where the duct will be holding a utility pipe in an area that has to withstand heavy loads, we would recommend that you seek to use a stronger ducting pipe. For example, if you have got to run a certain type of MDPE pipe beneath a road, you would opt for a higher resistance type of ducting. There is no set material used for the enhanced strength kinds of ducting, they are just made to suit the necessary load rating. Typically, underneath a road or pavement, you would look to use ducting with a strength of: 450KN or sN6 pressure rating. This is because an area that will see lots of heavy use will need to have ducting that is able to cope with high amounts of force and weight.
What to do about electric ducting?
- There is a little bit more to think about when choosing the right ducting to accommodate your electrical cables, because it has to be good enough to meet quality standards that are in place by law. If you are running the electric cables underground, then it is important that the ducting falls in line with BS EN 61386 as well as the 12-24 classes put in place by Energy Network Association Technical Specification (ENATS). Both of these documents go over all the important things that you should know before fitting your electrical ducting. One of the most important pieces of information that can be taken away from both of these is that there are three different class types for ducting you should be aware of. Class 1 ducting is used for high voltage wires, class 2 is used for low voltage applications, while class 3 is the most commonly used because it is designed for everyday use.
If you are unsure at any point about what ducting is needed, don’t be tempted to go for something you are not certain about. This will only lead to bad results. You can contact us and we will do our best to help you. However, we highly recommend that you seek the advice of a professional, to mitigate the risk of creating a hazard or breaching regulations.
Adhering to the rules
There are a few important rules that need to be followed if you are going to be installing ducting. The first one clearly has the right colour because, as previously mentioned, it is law and is stated under certified regulations.
Second to this is the different depths needed for the different kind of job you will be working on. For example, if you are installing electrical ducting underneath a busy road, we would advise that you bypass the standard depth of 450mm and lean more towards a depth in the range of 700mm-1200mm.
Duct installations for water are a bit more lenient. They do not have to be installed at such depths due to the layer of insulation surrounding the water pipe. The reason for this is because the foam is able to protect the pipe from outside, weather etc.
It is important that whenever you are unsure or don’t have the knowledge to fit certain types of ducting, it is paramount that you look to an expert to help you get your head around it all. There are various other online sources written by the government, such as the documents referenced earlier in this article. These documents will help to ensure that you do everything without breaking the rules.
Where will your ducting run?
So it is all well and good to know about the colour of the ducting you are using, but that’s no use whatsoever unless you know where it will be going. More often than not, you will have to check the ground which you are excavating because it will have old ducting with wires or pipes running through it. You can check this by simply looking at the project plans and asking an onsite expert before you begin to install anything. From here you can make an assessed judgment on where your ducting will sit and safely know where not to dig!
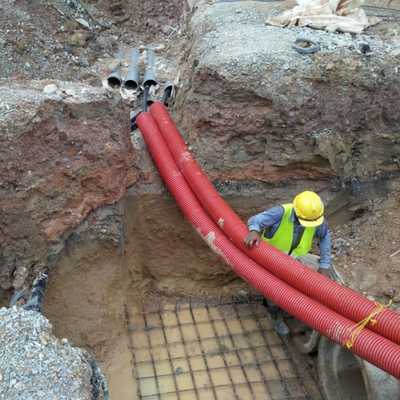
Government regulations state that the best way to approach fitting the ducting is to fit them so that they follow the pattern of the pathways and roads already in place. This leads to there being as few black electrical ducting bends needed as possible, which means you can save money on the project as a whole. It is recommended that before you fully decide on the route of your ducting you give a rough idea by placing it on the ground where you want it to go.
A good measure to take to ensure that you know which parts you will definitely need for your ducting instillation is to lay long radius bends, for the straight duct, and access chambers for the changes in angles. This creates a clear cut model that you can physically look at and examine, which allows you to fully assess whether your plans are accurate or not. If you are using a pliable coil for your duct installation, then be certain that you don’t neglect the space you will need for the bends required.
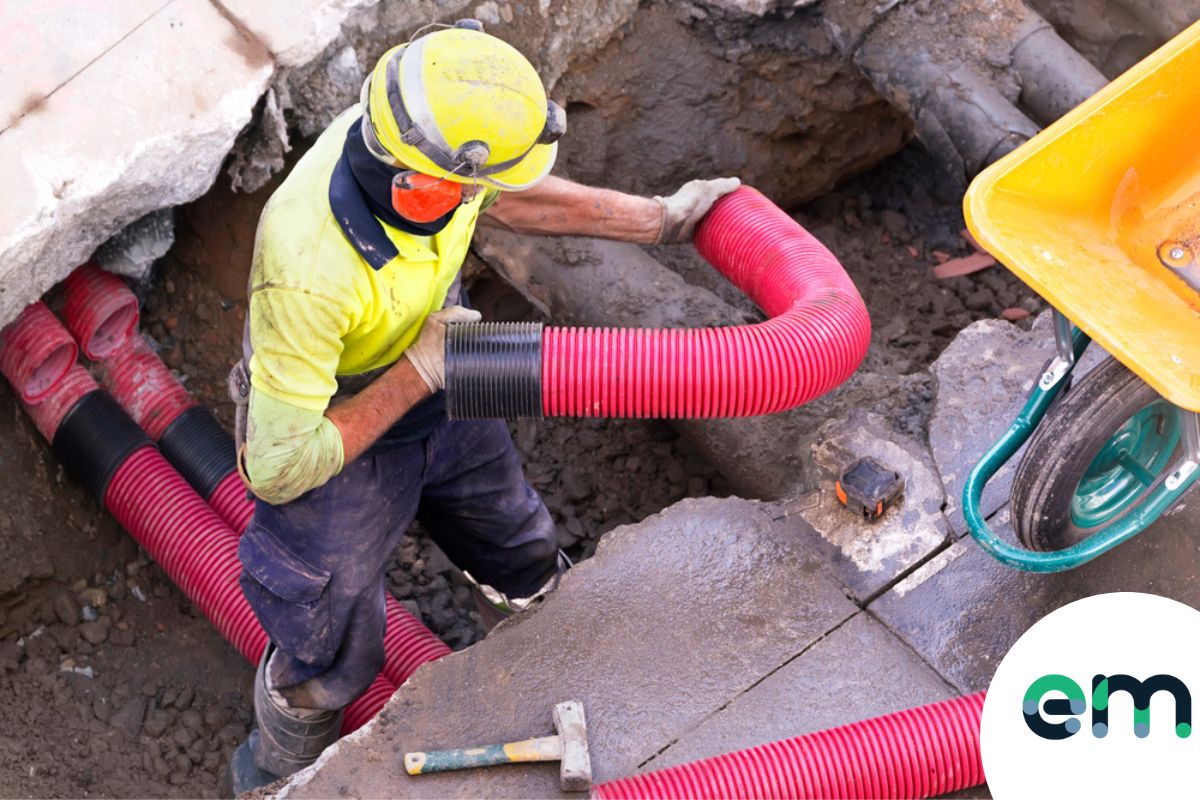
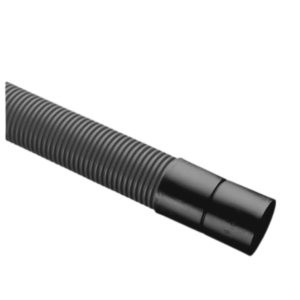
This is a great way to get your head around the visuals of the project. However, it is essential that you use the right ducting for your job. So, if you need ducting with a bit more give, you would typically go for one of the flexible ducting pipe coils. Our coils come with an integrated draw cord and are light but tough, making them an ideal pick for underground use. Furthermore, they come in large coils to help cover long distances. If you are using the solid lengths of twin wall duct, be aware that they come in six meter lengths and are built to be rigid and have less flexibility than the most commonly used coils. They are mostly used in order to reduce the number of bends in a system and also have a lower airflow resistance, leading to a greater capacity than the flexible coil. Twinwall ducting is slightly different as it is built to be used in situations where that bit more strength and reliability is required. The inside of ducting is still smooth to ensure that the flow is not hindered in any way.
It is always good to make sure you are clear about the type of ducting you need and how it will be applied, so don’t forget to mark out this area before moving forward with the process.
A reminder about safety!
Before you start any project that involves elements such as water, electricity and gas, you must be absolutely confident that you are taking a safe stance towards the job. Looking closer at this, before you start work, the utilities need to be disabled, including the supply to them. This is because in the worst case scenario, if you are working and make contact with something that is live, it could end fatally. We would always advise that you take every precaution possible when dealing with fitting ducting.
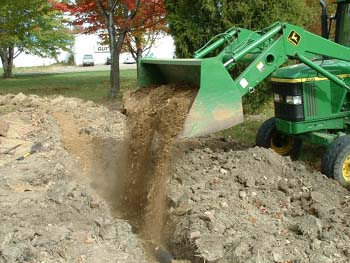
Things to bear in mind when digging your trench:
There are a few things that must be remembered when digging a trench. Second to safety, is what is already buried in the ground you will be digging up. Remember that no matter what kind of project you are working on, there will most likely be the remains of old work that was once in place, so there are certain things that you should really keep a close eye out for when undertaking your own work. Sometimes, when excavating an area to fit new ducting, there will be the remains of old pipework that may not have warning tape or signs to identify the kind of material it is made out of or what it was used for. This may be down to the age of the pipe and old rules that stood in place at the time it was fitted, which means you should treat them with caution. Furthermore, aged pipes may also be discoloured due to the long periods they have been buried for, so we would advise you to be aware that the colour may not be the most accurate indication of what the pipe is or was being used for. The best possible course of action to take is to seek the advice of a professional if you are unsure of what you are dealing with.
On the positive that you don’t have any issues, and you have followed the route where you first laid out your pipe, you should have a nice channel for your ducting to sit into. At times it is necessary to create a layer of around 45-50mm of grit sand at the base of the trench to create a protective bending for the ducting to sit in. After the trench is set, it’s time to install the ducting!

How to install the ducting
When installing the ducting, the last thing you want is to get the coil laid and realise that it’s damaged, so before you go ahead with the process, we recommend doing a quick once over of the coil and if all looks good, then you should be all set to get your project under way.
The next step is to simply begin installing your ducting into the trenches that you have created. Ensure that you are using the appropriate black twinwall duct couplers and twinwall duct seals because the last thing that you want is to lay your lengths or coils of twinwall and then realise that you haven’t got the adequate twin wall or seals.
Further to this, using a drawcord with your twin wall is an absolute must as it is important if you want to make threading wires through the ducting as easy as possible. The vast majority of our coils come with the threaded cord all ready in them to save you the time and hassle of having to do it yourself. However, if this isn’t the case in your situation, then make sure that you do have some to give yourself the reassurance that everything will be in place ready for when the wires have got to be threaded through the ducting.
In order to get the cord through the ducting, we would recommend that you get a cloth which fills the width of your pipe but doesn’t hinder its ability to be pulled through and attach the drawcord to it. At the other end of the pipe, attach a hoover with tape and when you run the hoover for a while, the cord should reach the other end. After this, it will be a case of simply using the drawcord that has been threaded through the ducting and attaching it to your cables and using the other end to help get the cord through the ducting. Now you will have cables going through your ducting and you’re one step closer to finishing the project.
On a final note, all ductwork installations should be checked over a final time when everything is in place. The most vital things to check are always the seals and points of connection, particularly if you are running electrical goods through the ducting like wires. This is because moisture will affect electrical goods if it is to get inside of the system, which may evolve into a safety hazard. However, if all is good and you are happy with the sealing points and ducting in general, then it is time to move on to getting the tape on and the backfill down.
Backfilling and marking out the ducting
Backfilling is where you are putting back or replacing what has been excavated. The common thing to do in the industry is to cover the actual ducting with 150mm of sand. This can stop the duct being damaged by any piercing objects, because the sand will create a barrier. From here, you can replace the rest with the original soil or a backfill of your choosing.
Before any of this can be done, you must create a warning of what is below and that’s where the warning tape comes in. When picking the type of warning tape that you are after, be clear that you are getting the one that relates to the type of ducting that you are using, as there are so many different kinds of ducting and tape. The tape should be put along the entirety of the duct before backfilling the rest.
Once the backfill and tape is in place, your job is all done in the safest way possible. As with all of our goods, please get in contact if you are unsure of anything!
Shop Twinwall Ducting:


Out of stock